October 2011
Monthly Archive
Mon 3 Oct 2011
Posted by Administrator under
Bosch VE PumpNo Comments
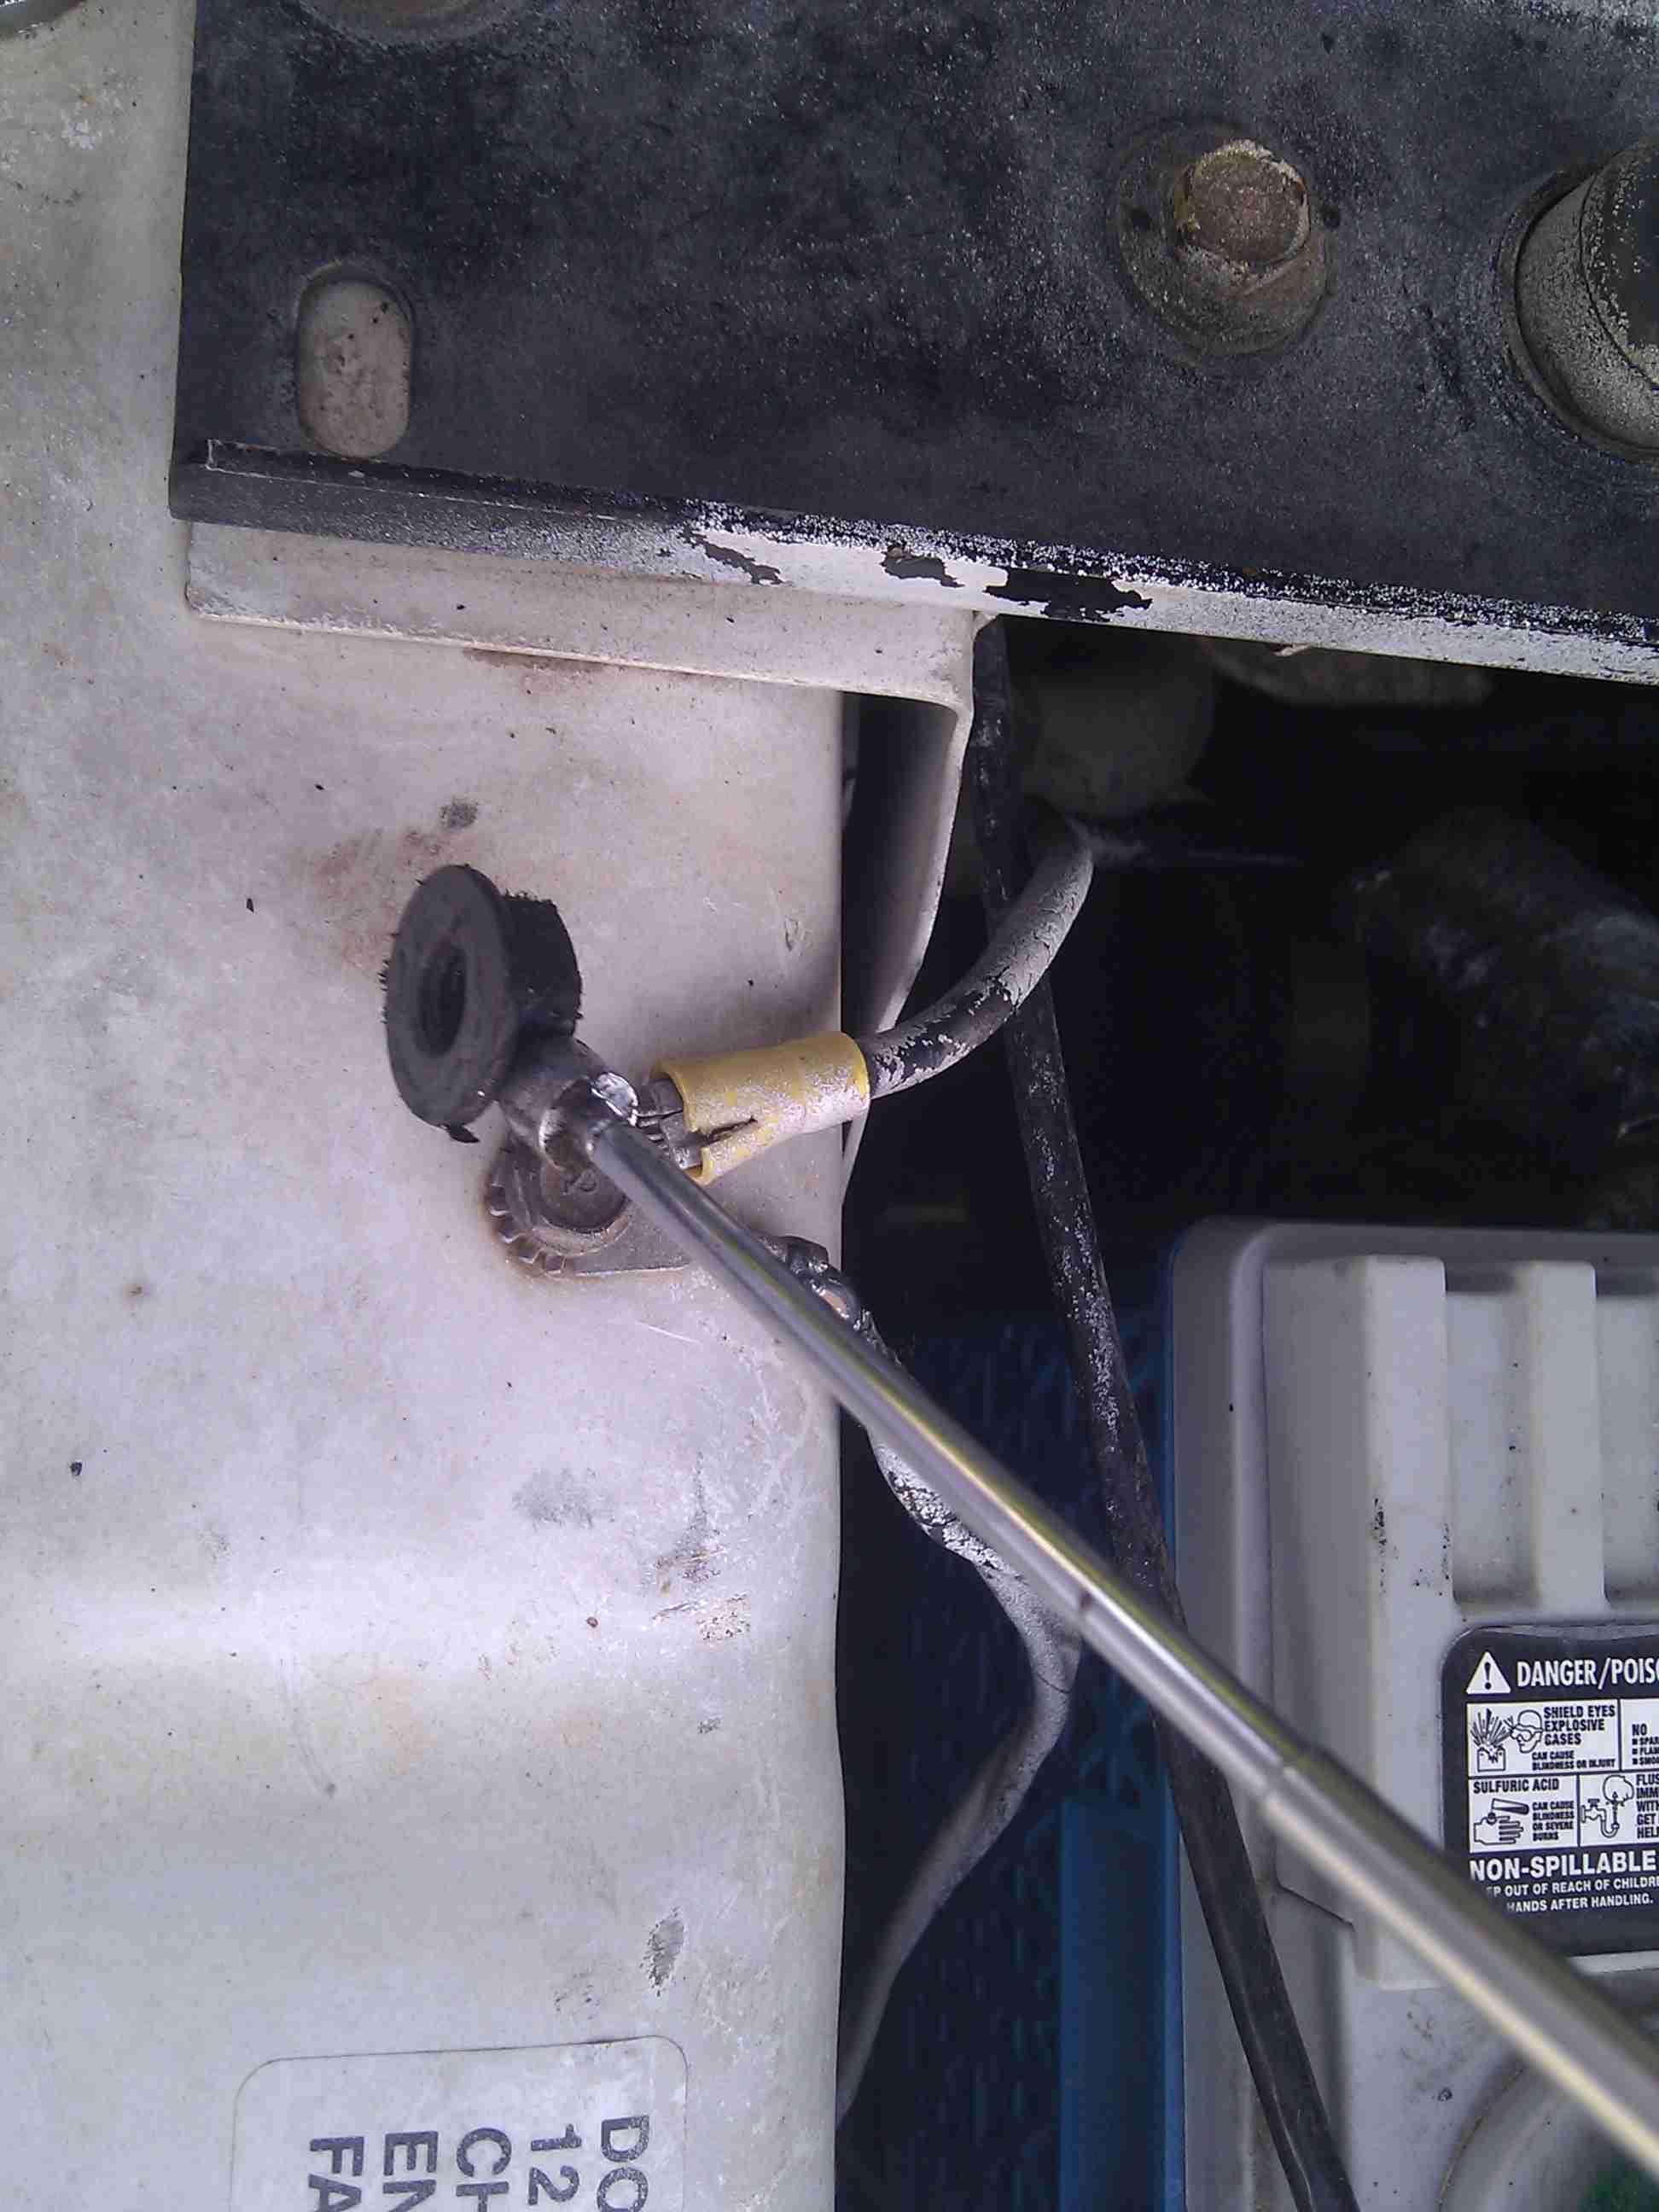
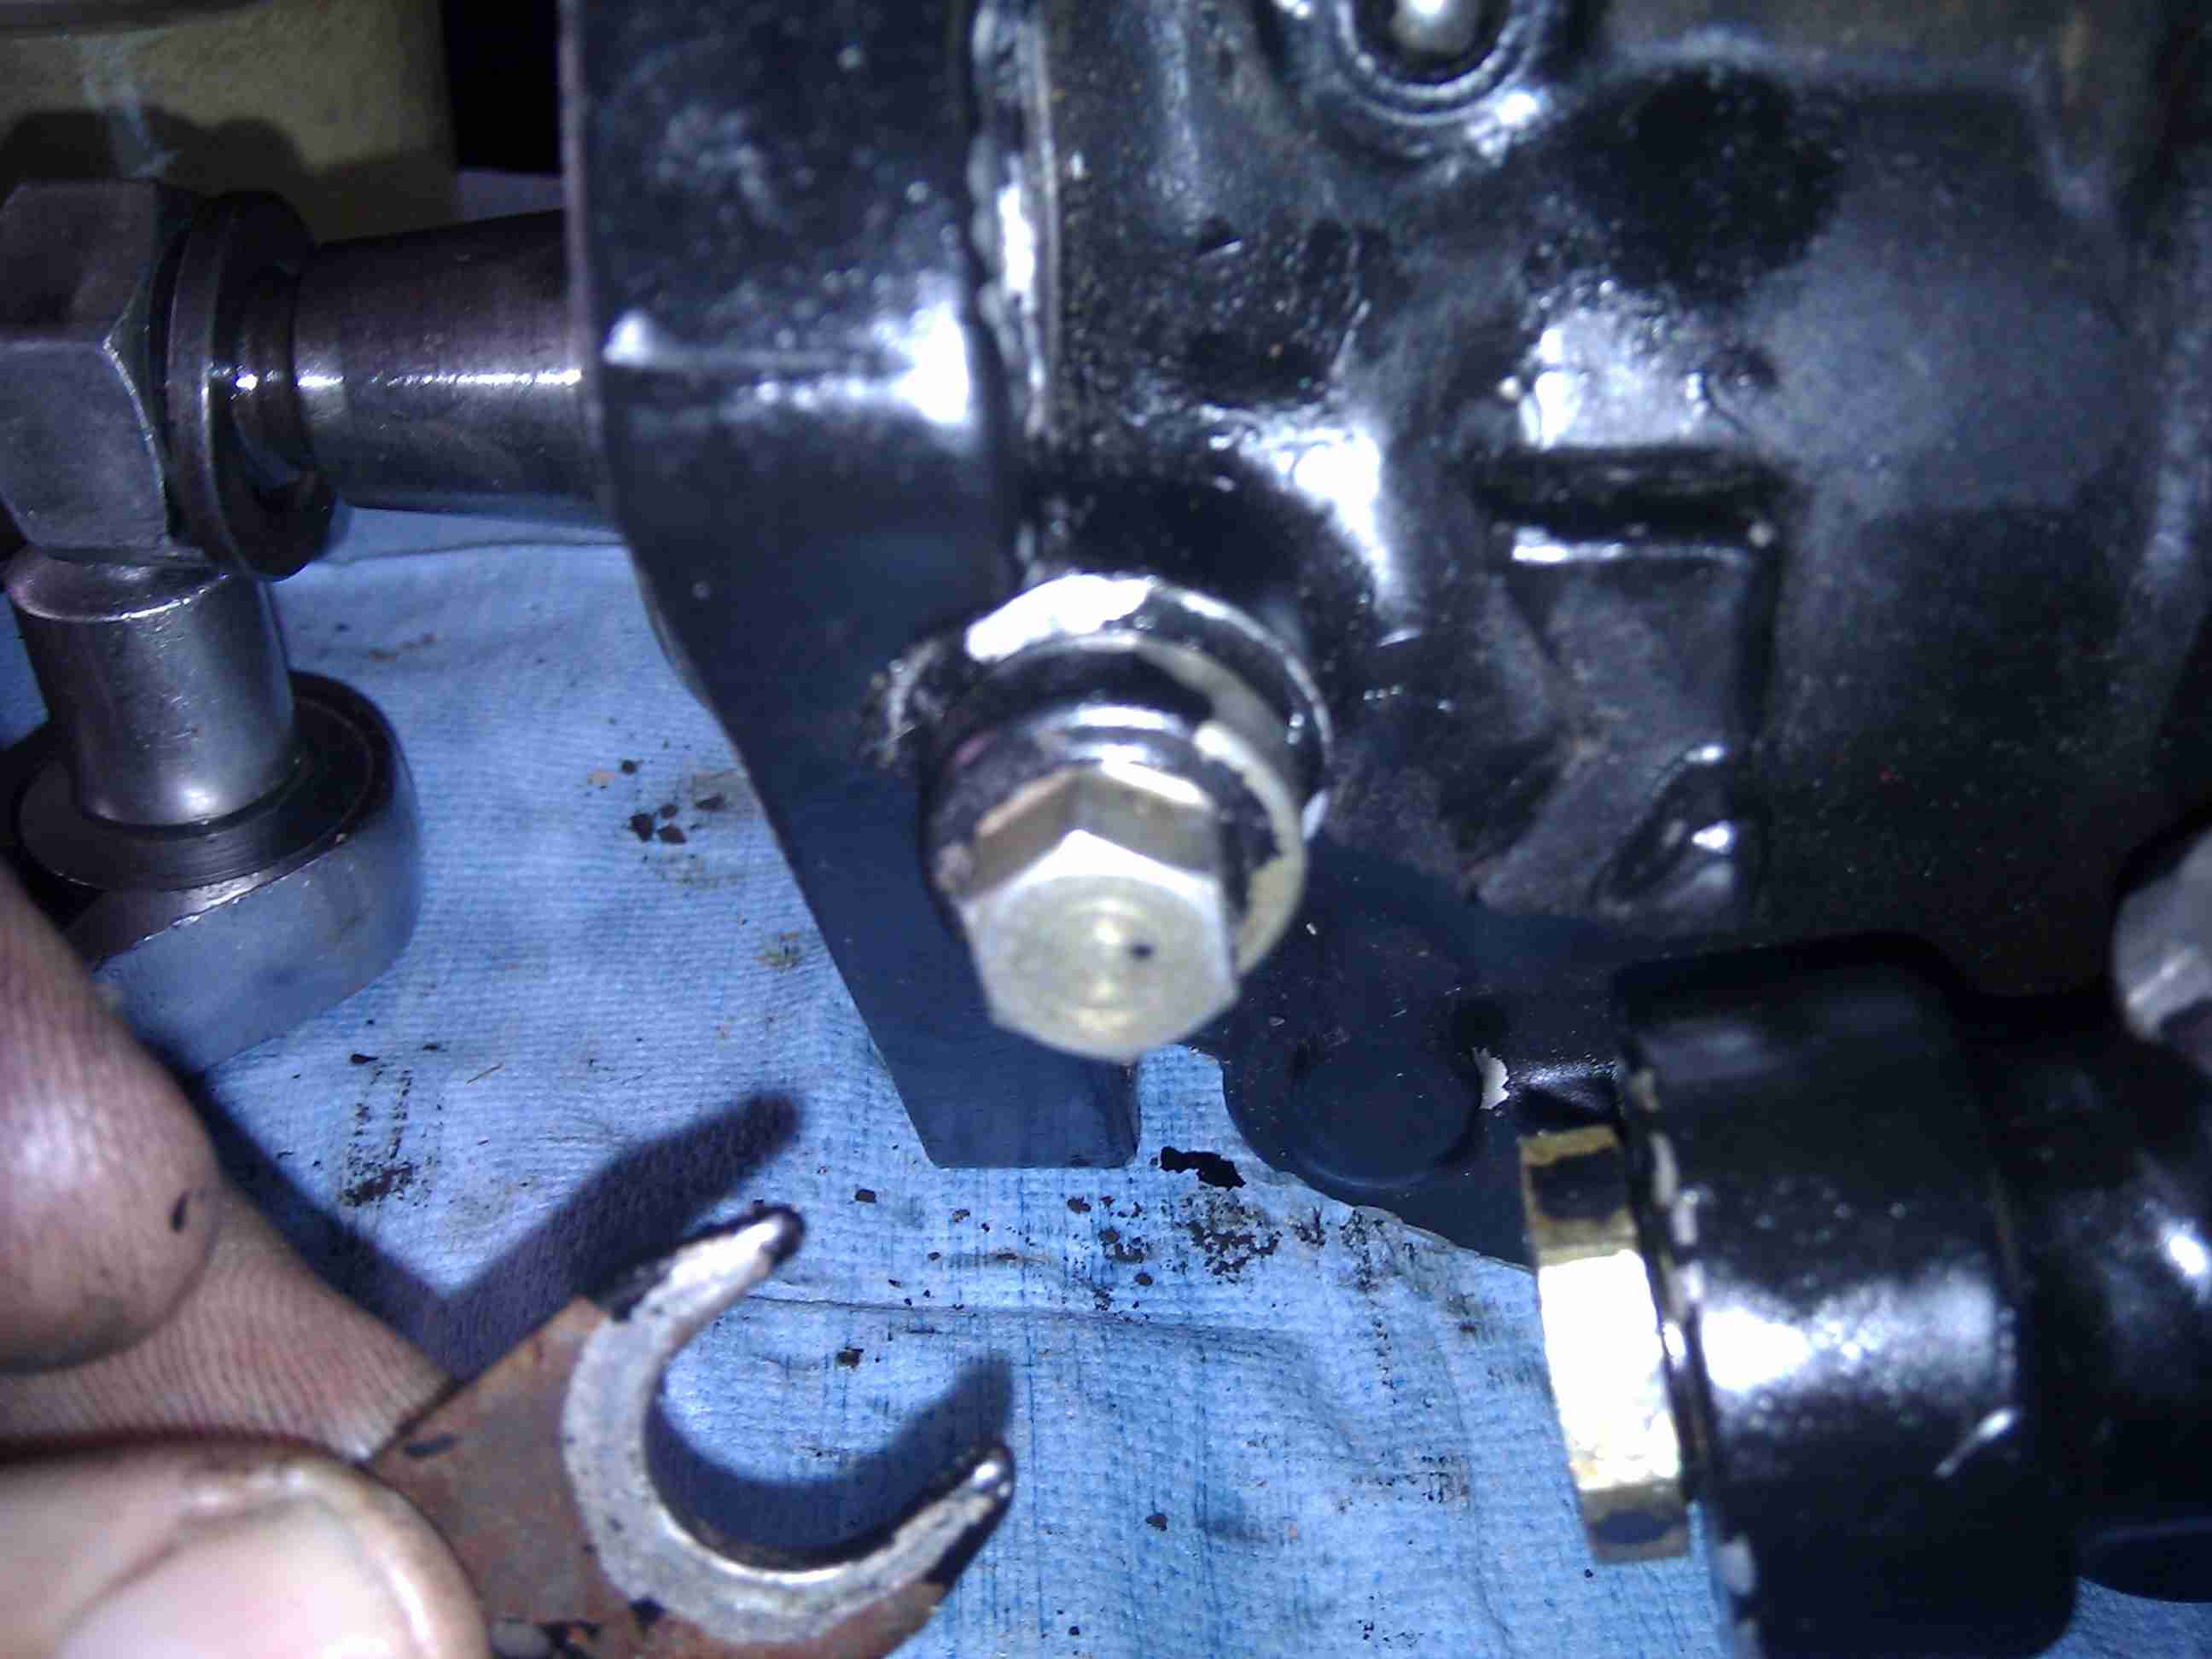
Under this governor shaft nut, is the leak that started this whole project. The o-ring was brittle. When I took it off of the governor shaft, it was stiff and then it cracked. I got the nut loose. The shaft itself was 2.6 turns out from being fully seated. One of the forums says that it should be bottomed.

Somewhere I found a post that showed a tool ground from a flat blade screw driver that will remove the front seal. I just wish I knew which site.

Here is another tool ground from a screwdriver. Here is the site that it came from.

The engine tag from Cummins. The engine number is required for ordering parts.

Mon 3 Oct 2011
Posted by Administrator under
Bosch VE PumpNo Comments
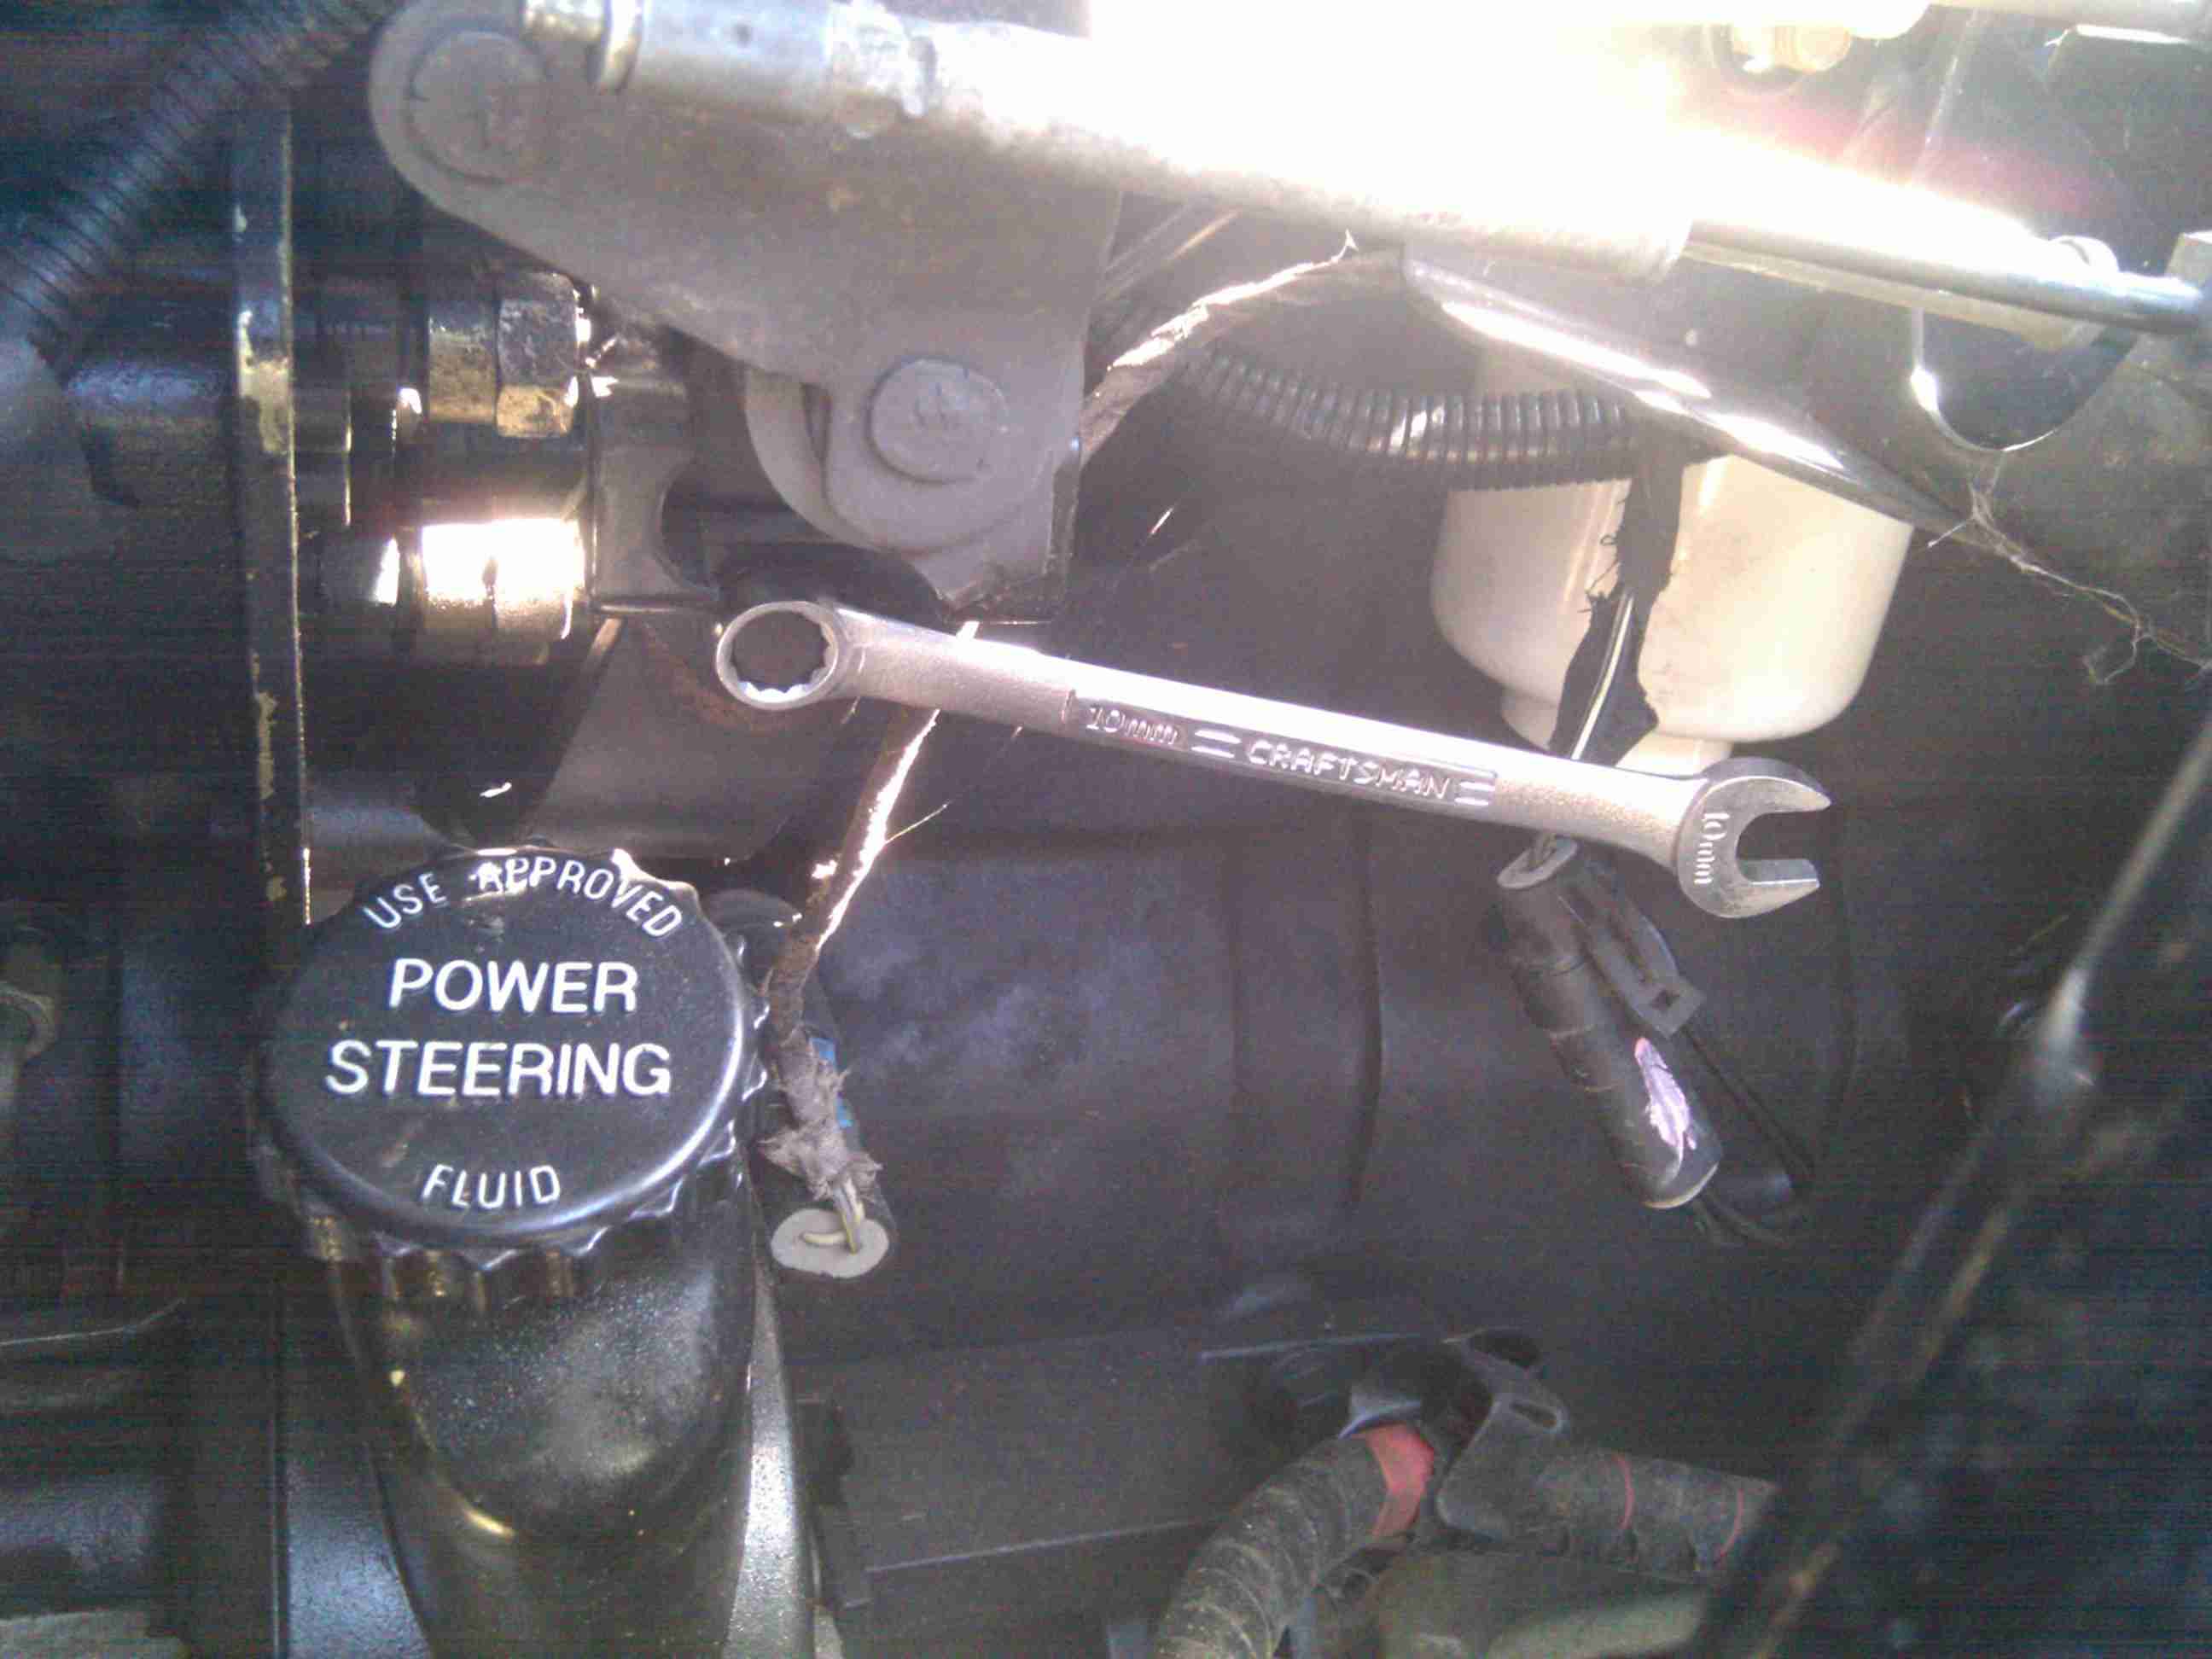
Here is the cheap obstruction wrench I picked up from Harbor Freight. Worked fine for removing the 3 mounting nuts that hold the pump to the housing.
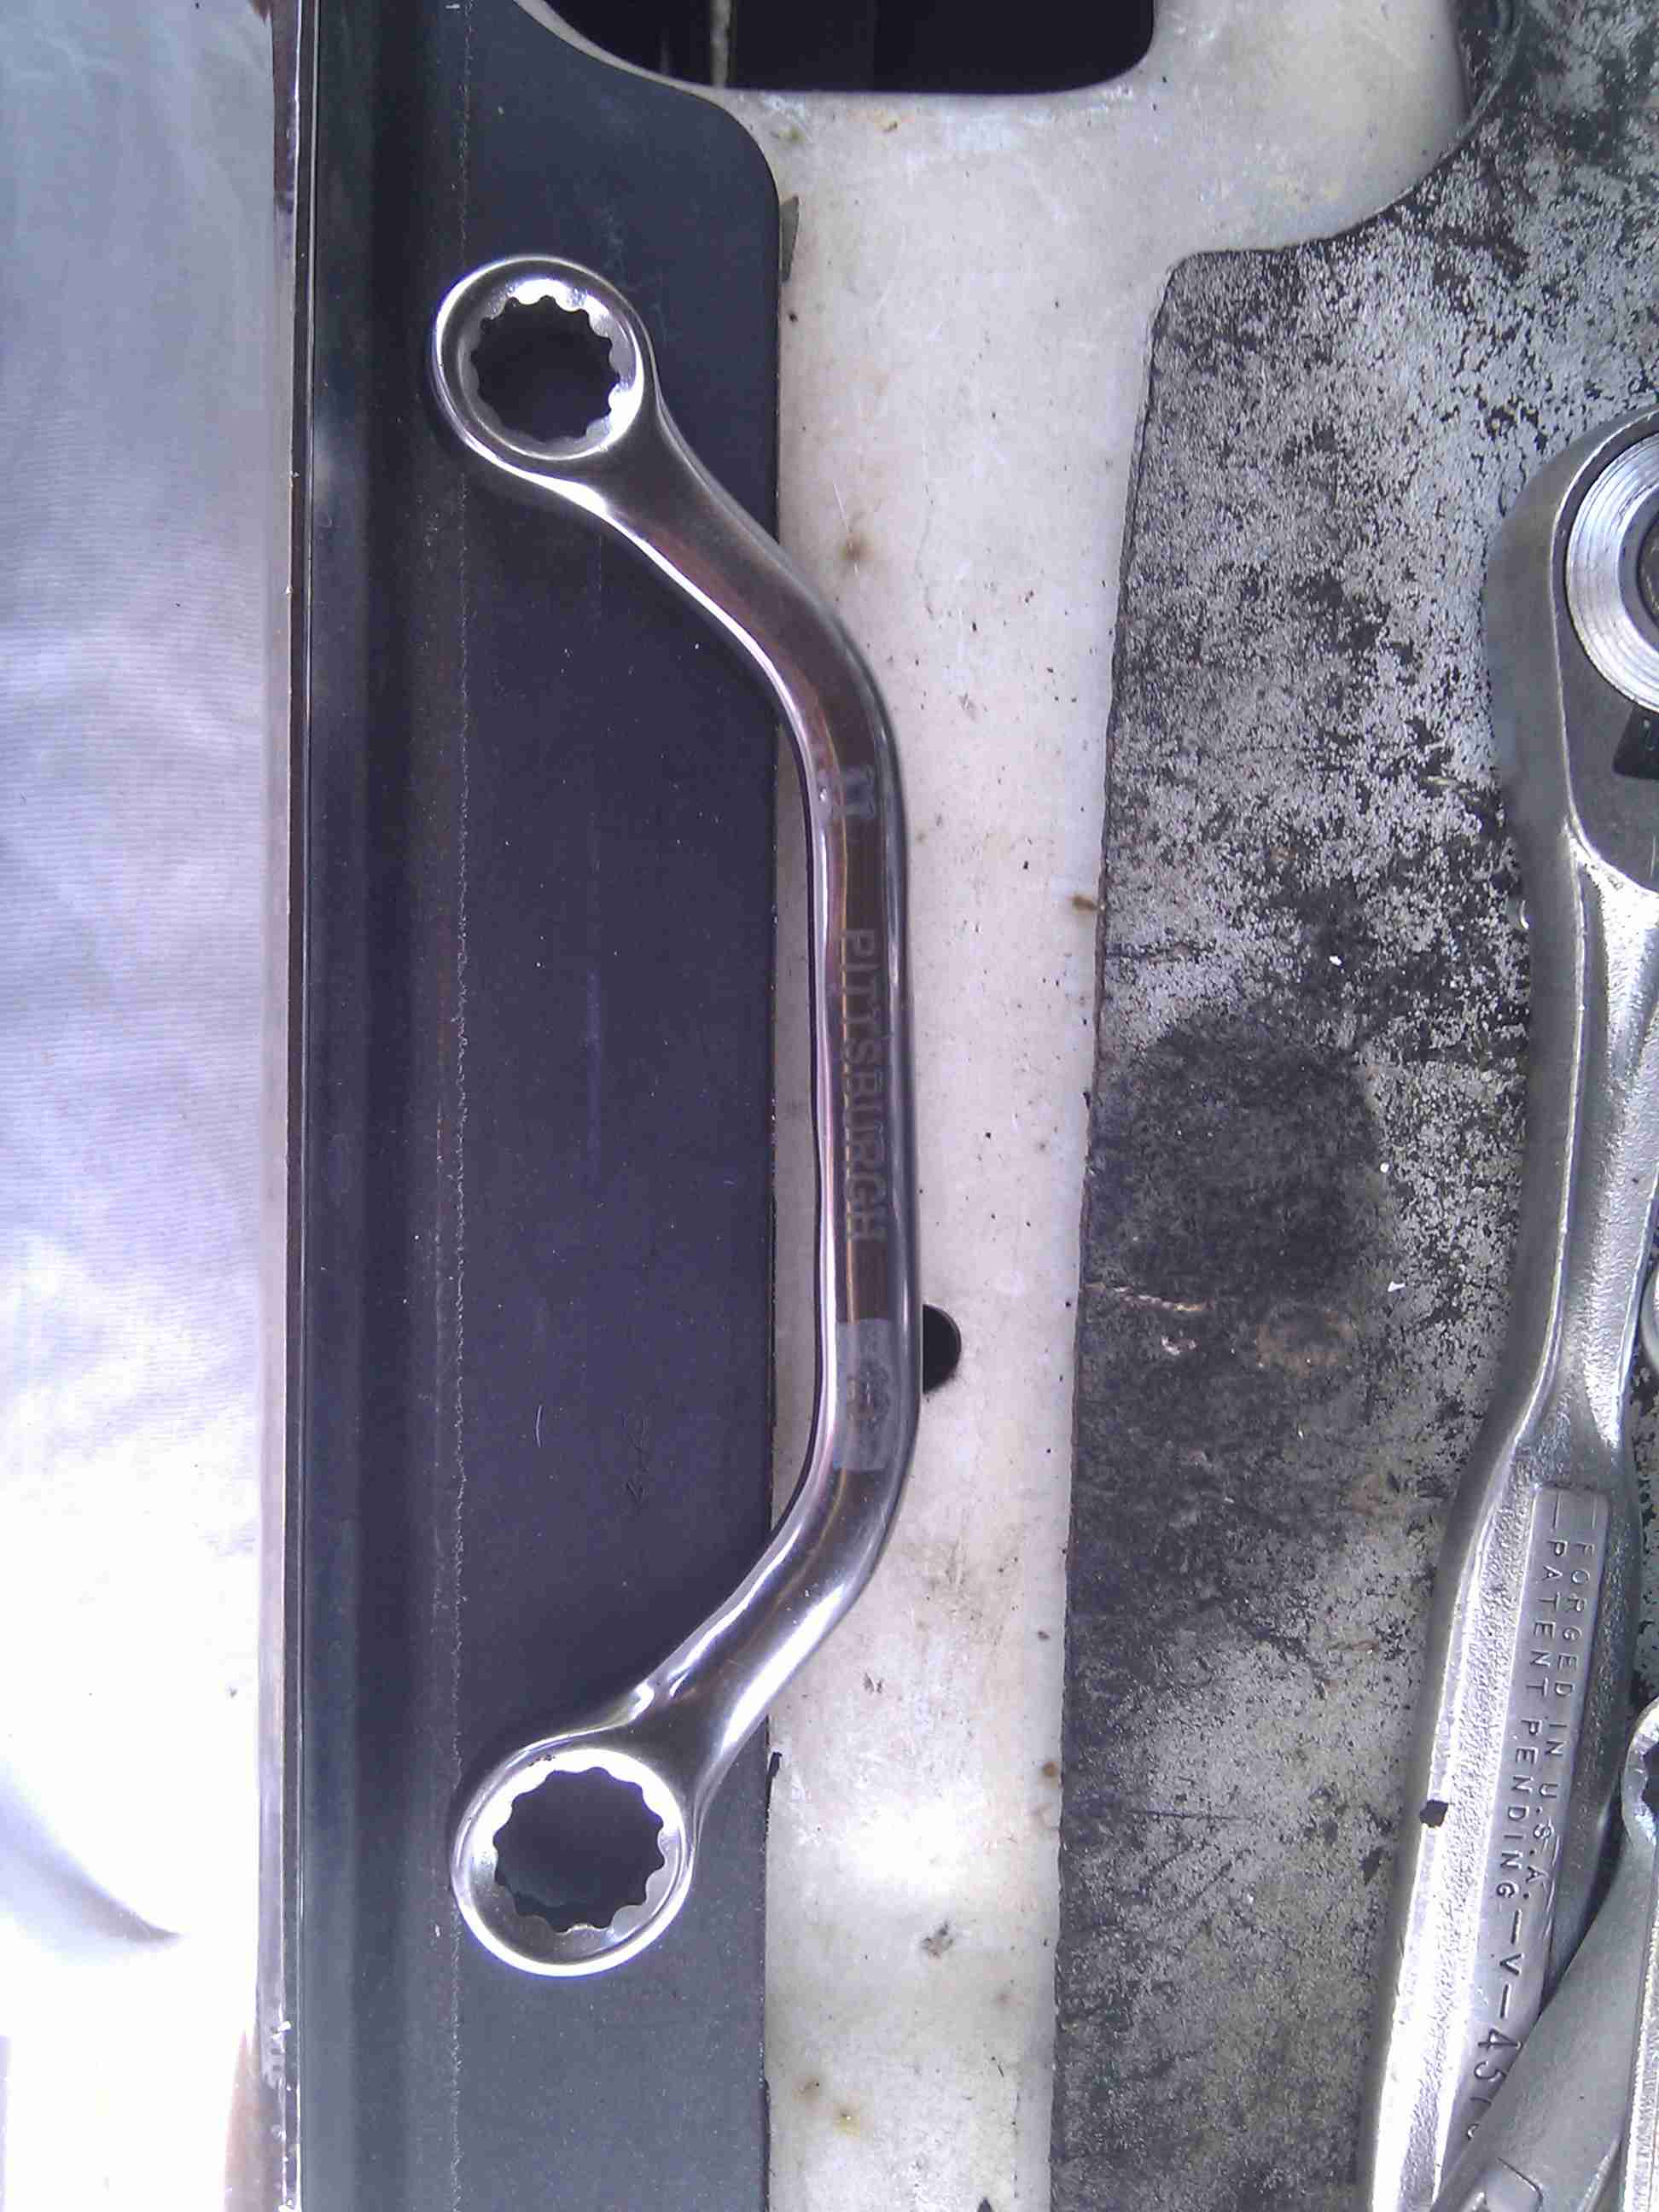
Here is one of two mounting nuts that needs this wrench. Also don’t forget to plug the fuel line so dirt does not fall in.
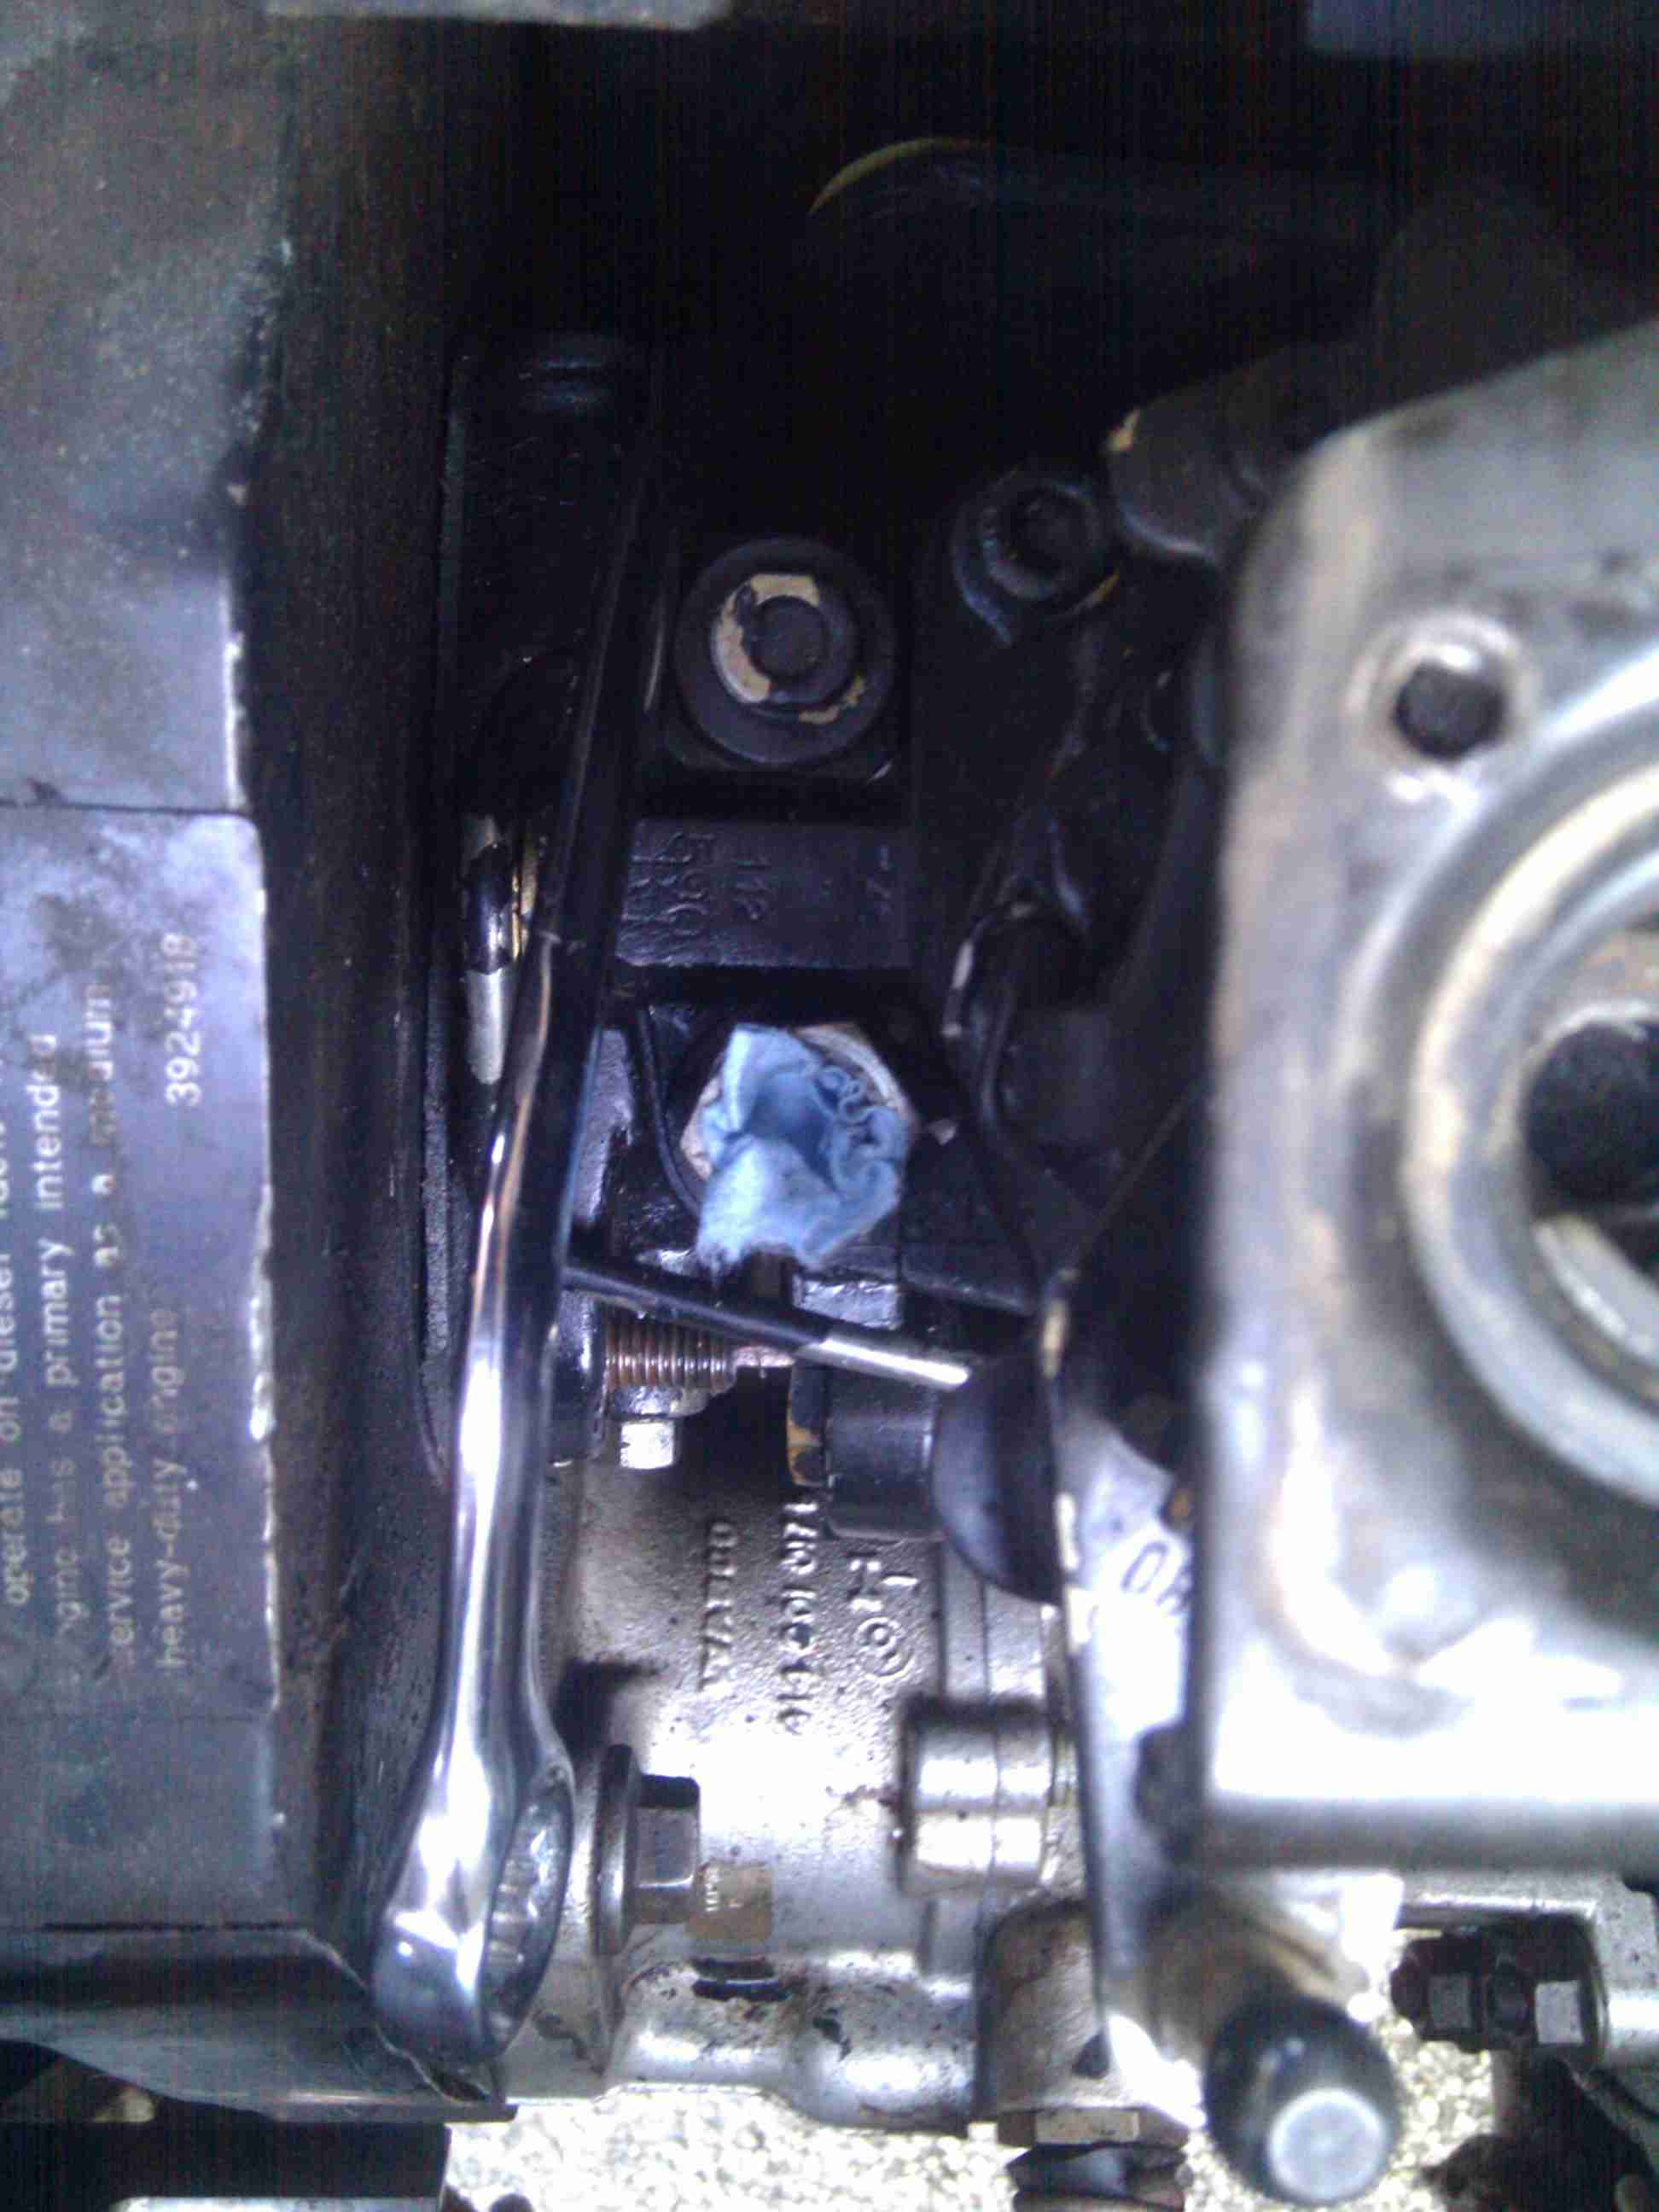
Notice the towel tucked into the opening to keep the nut and washer from falling into the housing. It also keeps dirt out that falls from so much activity in the area.
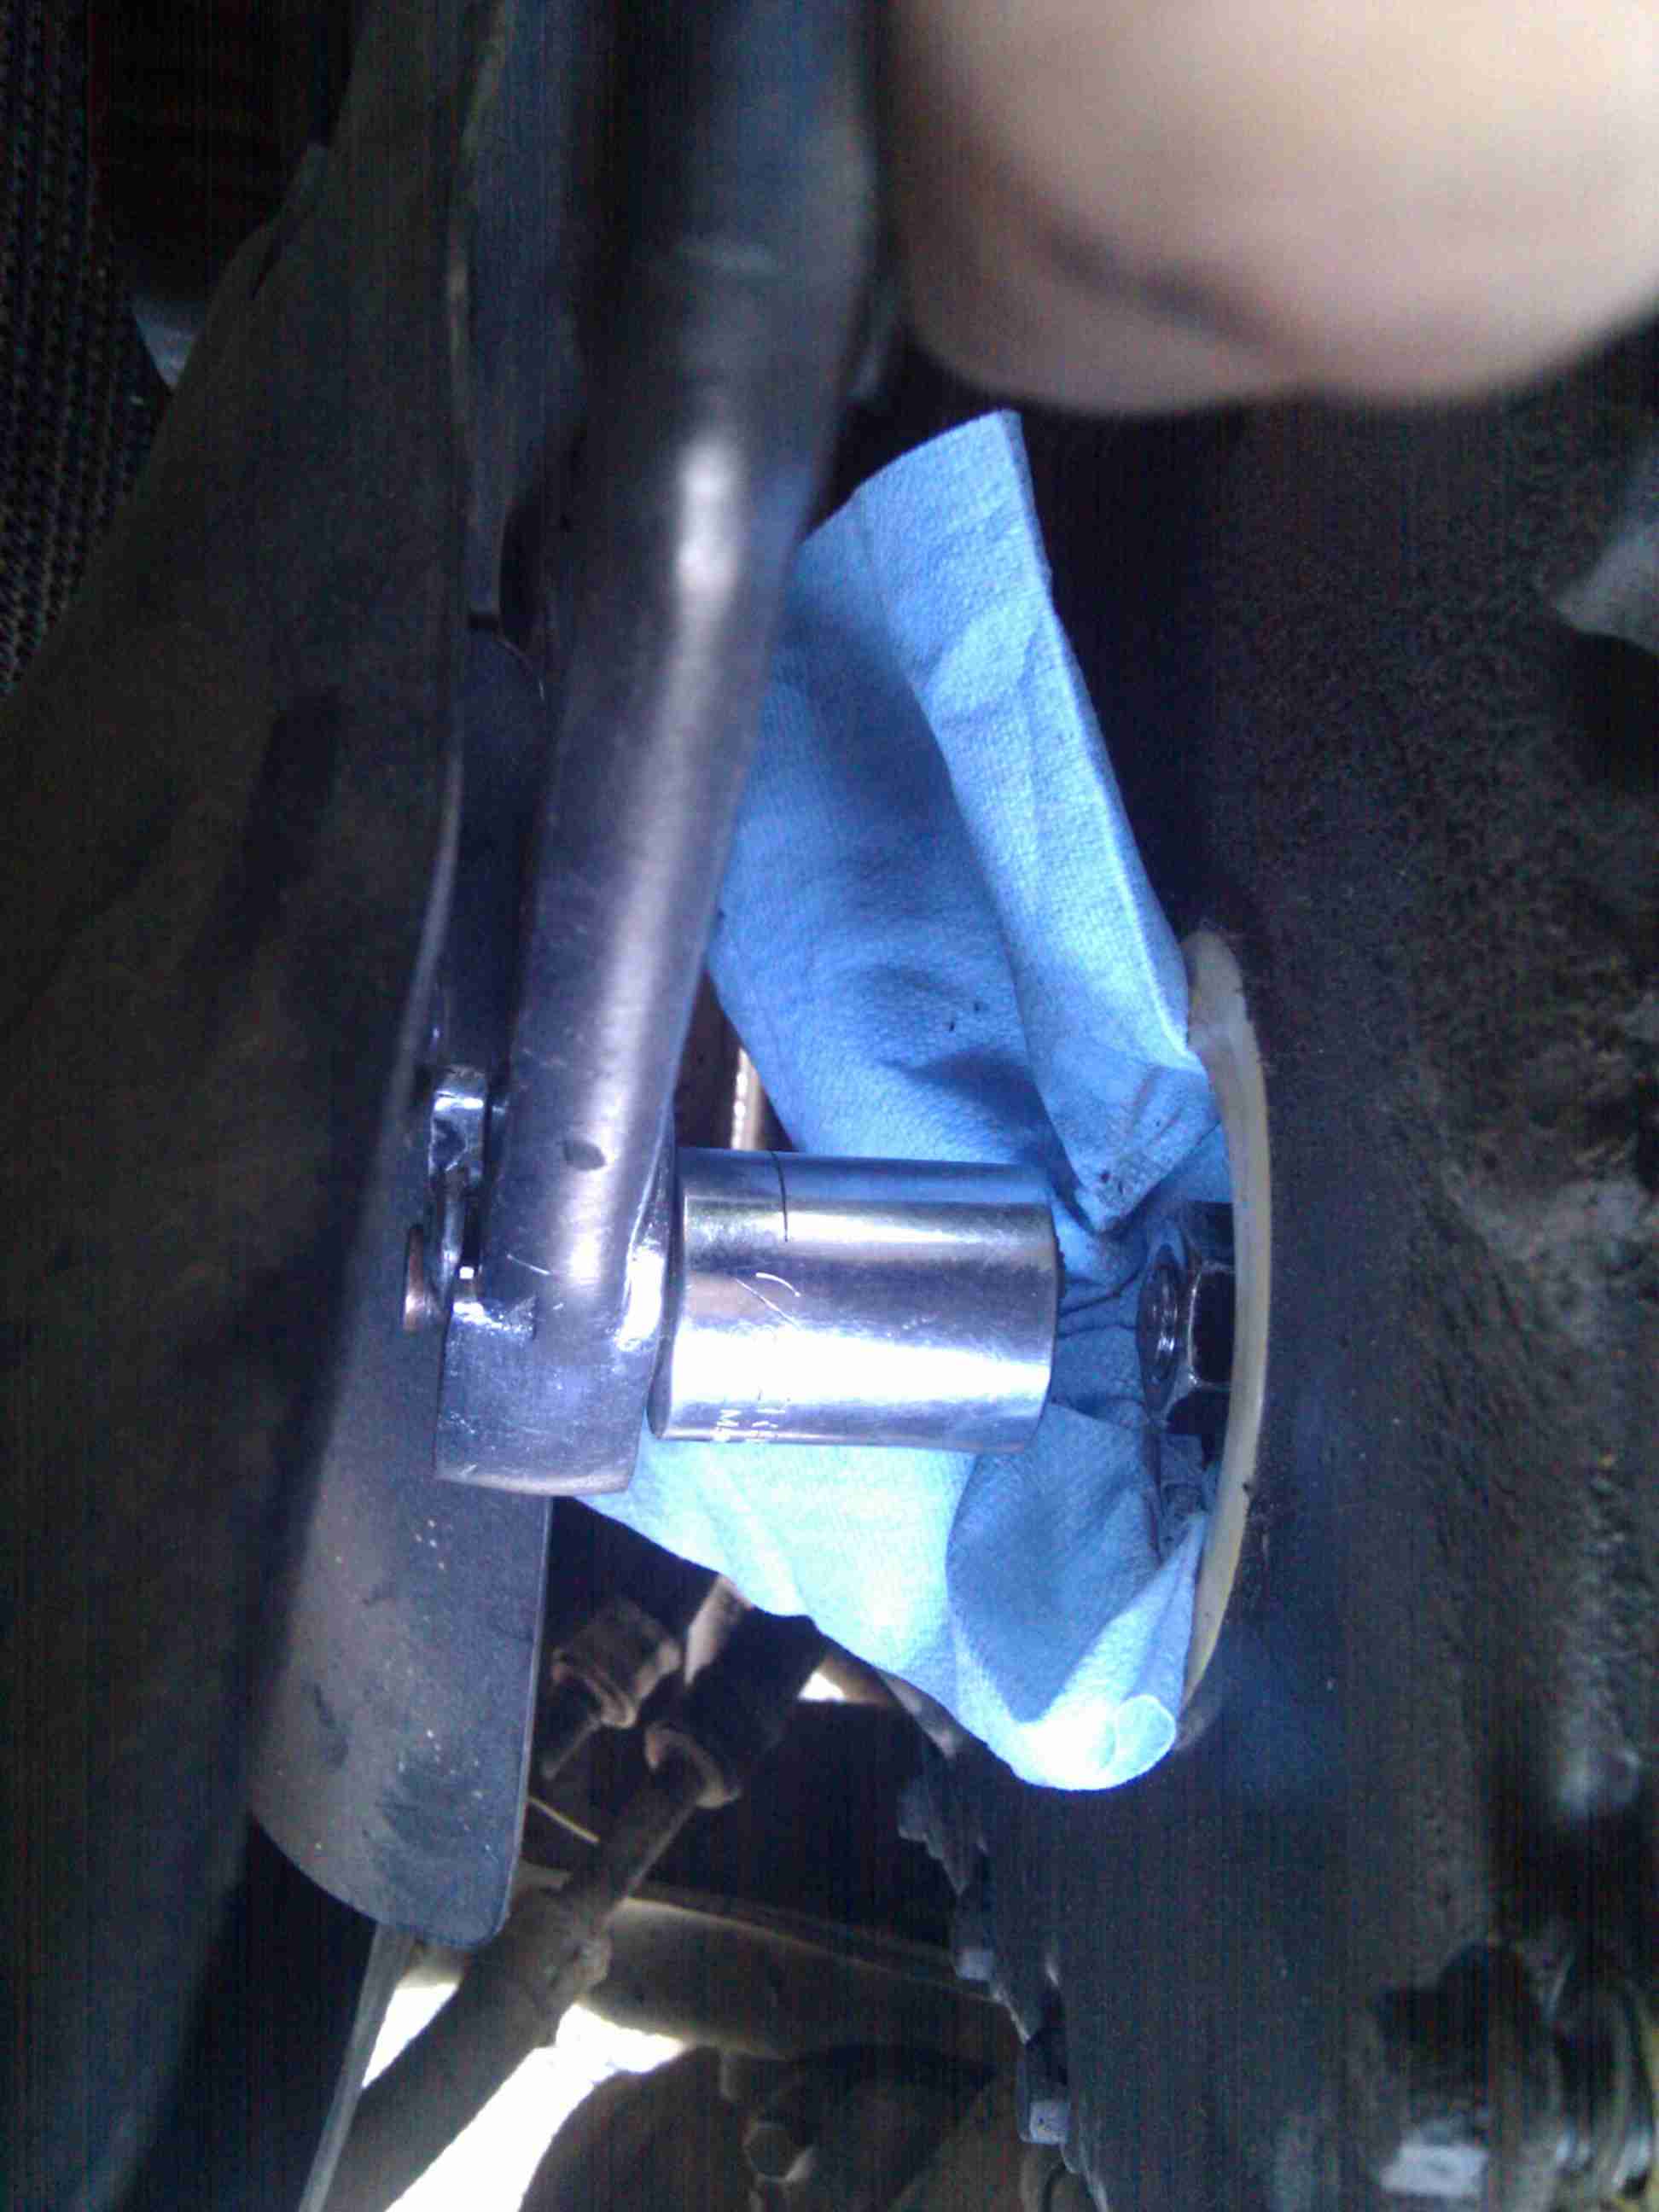
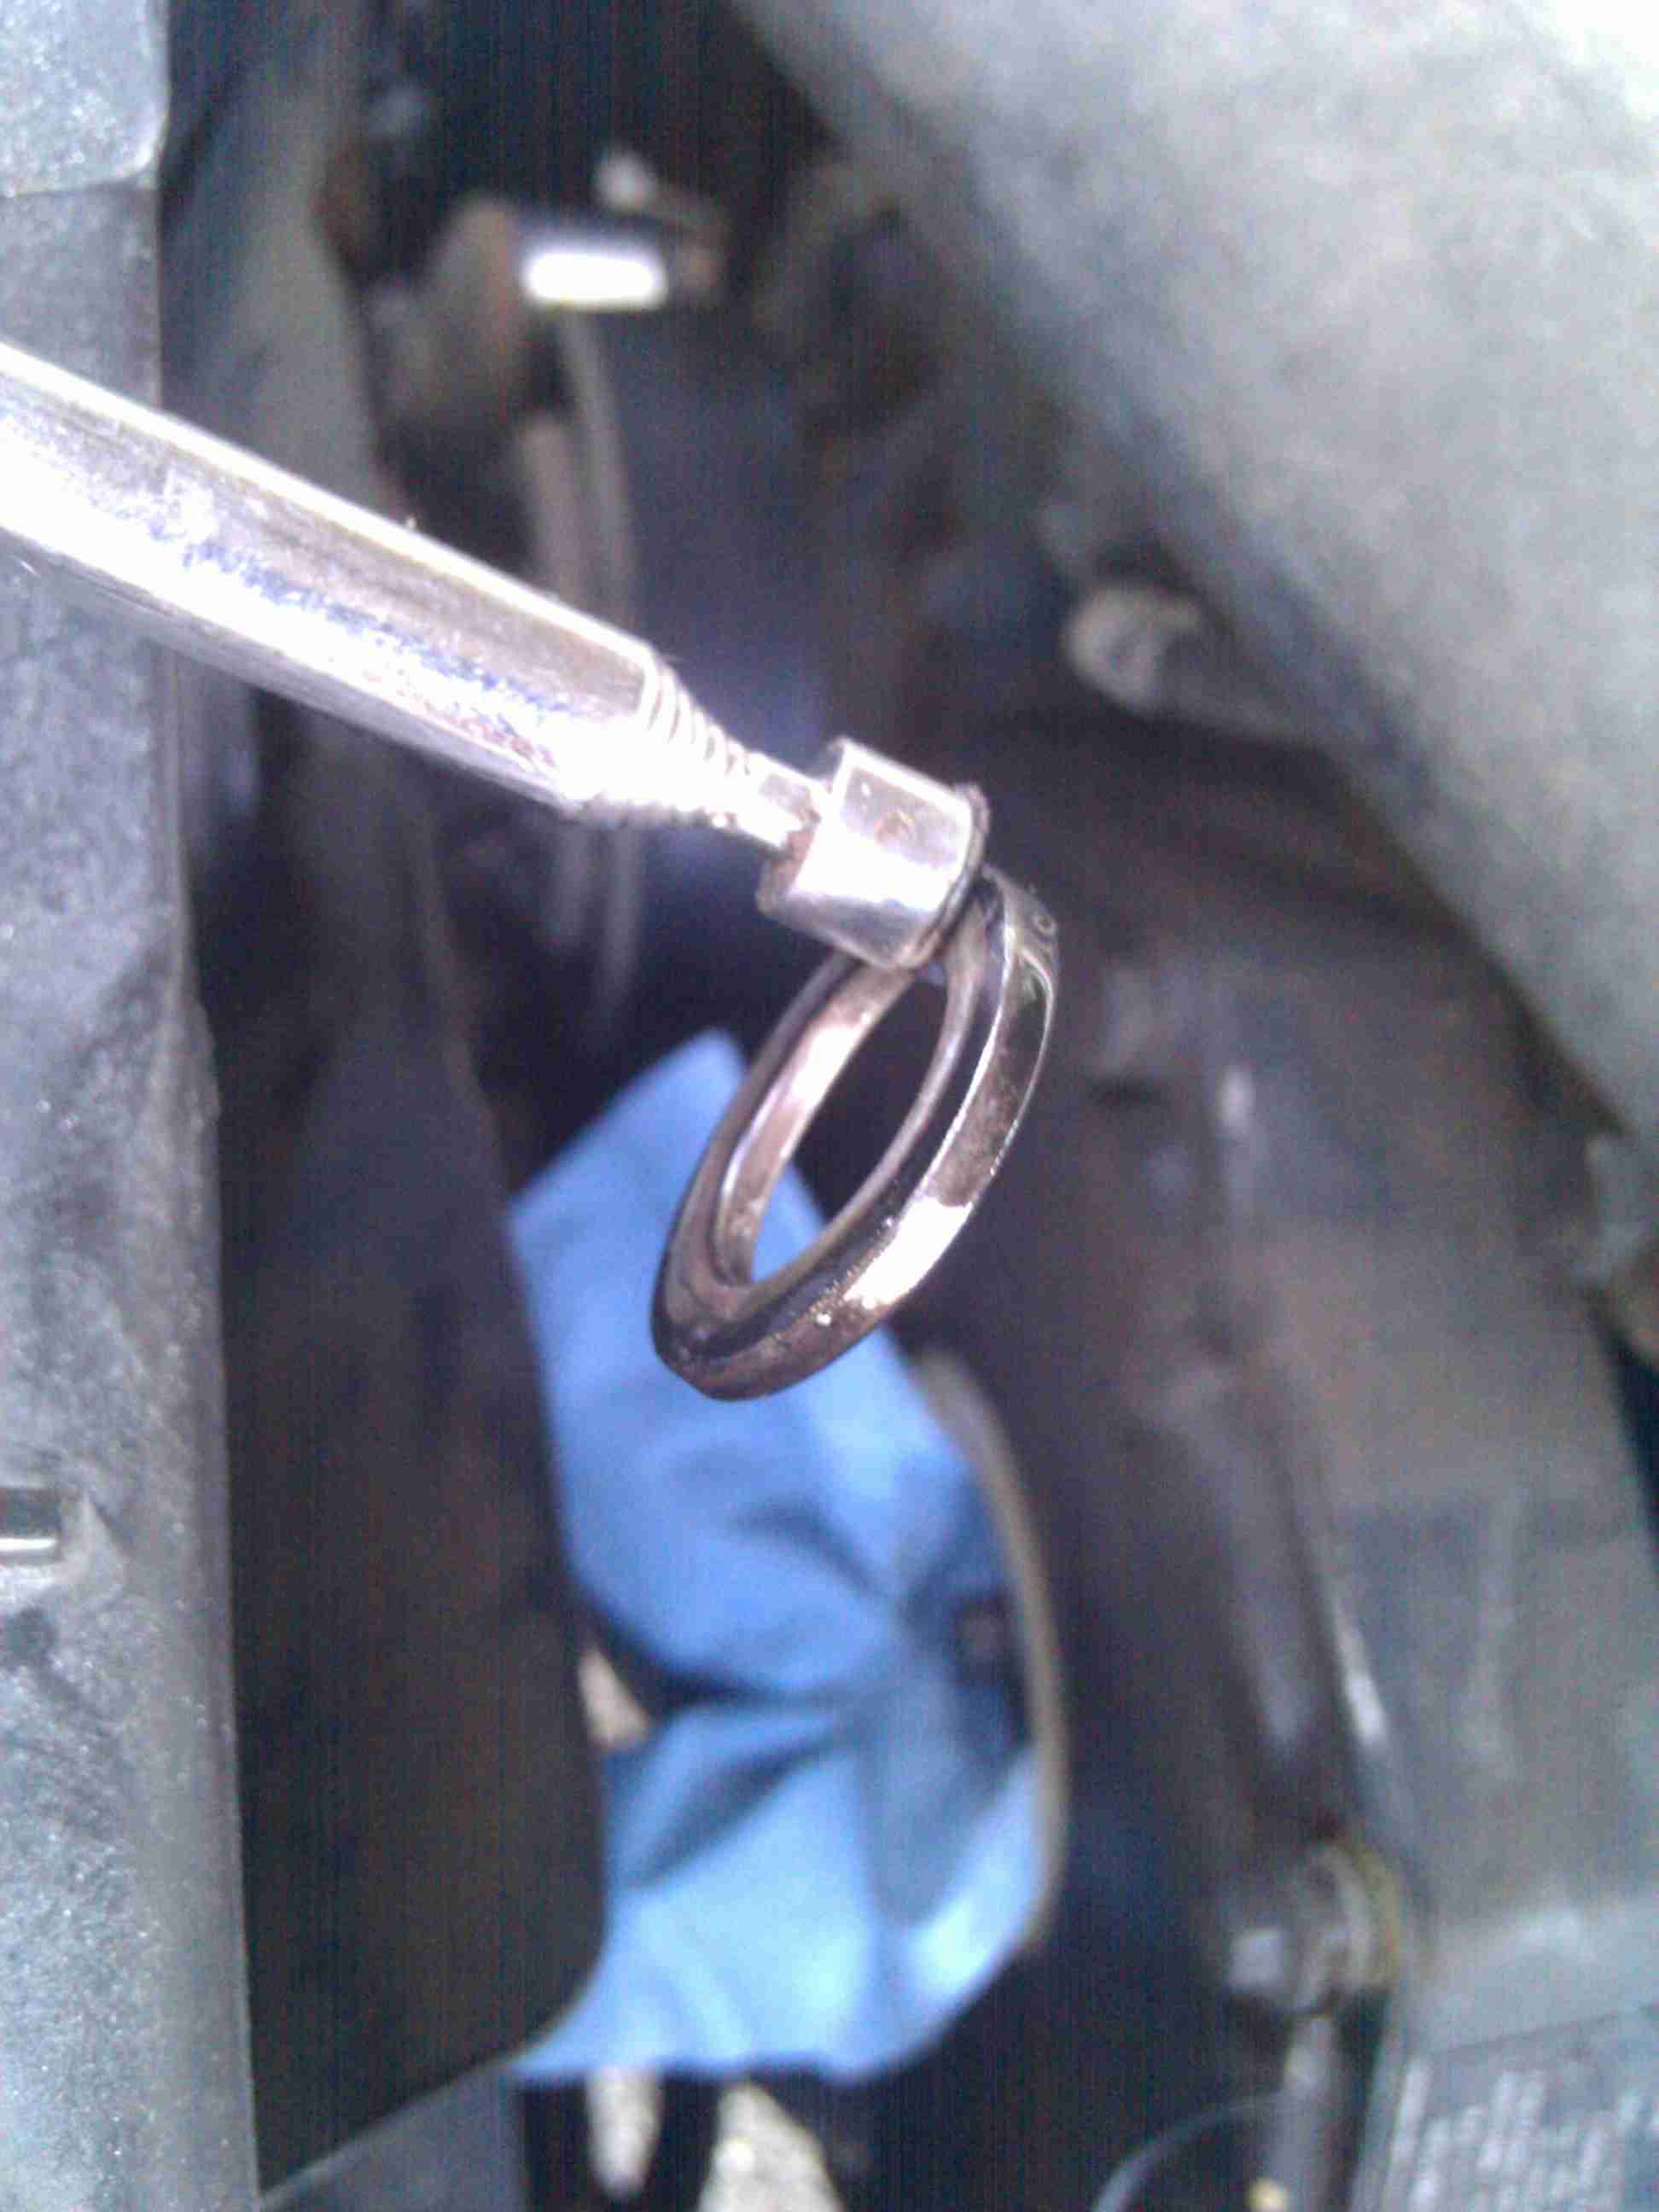
For the very last couple of turns when removing the injection pump to gear nut, I used this telescoping magnet. Worked great!
Removing the washer with a magnet made it very easy. It’s recessed a bit.
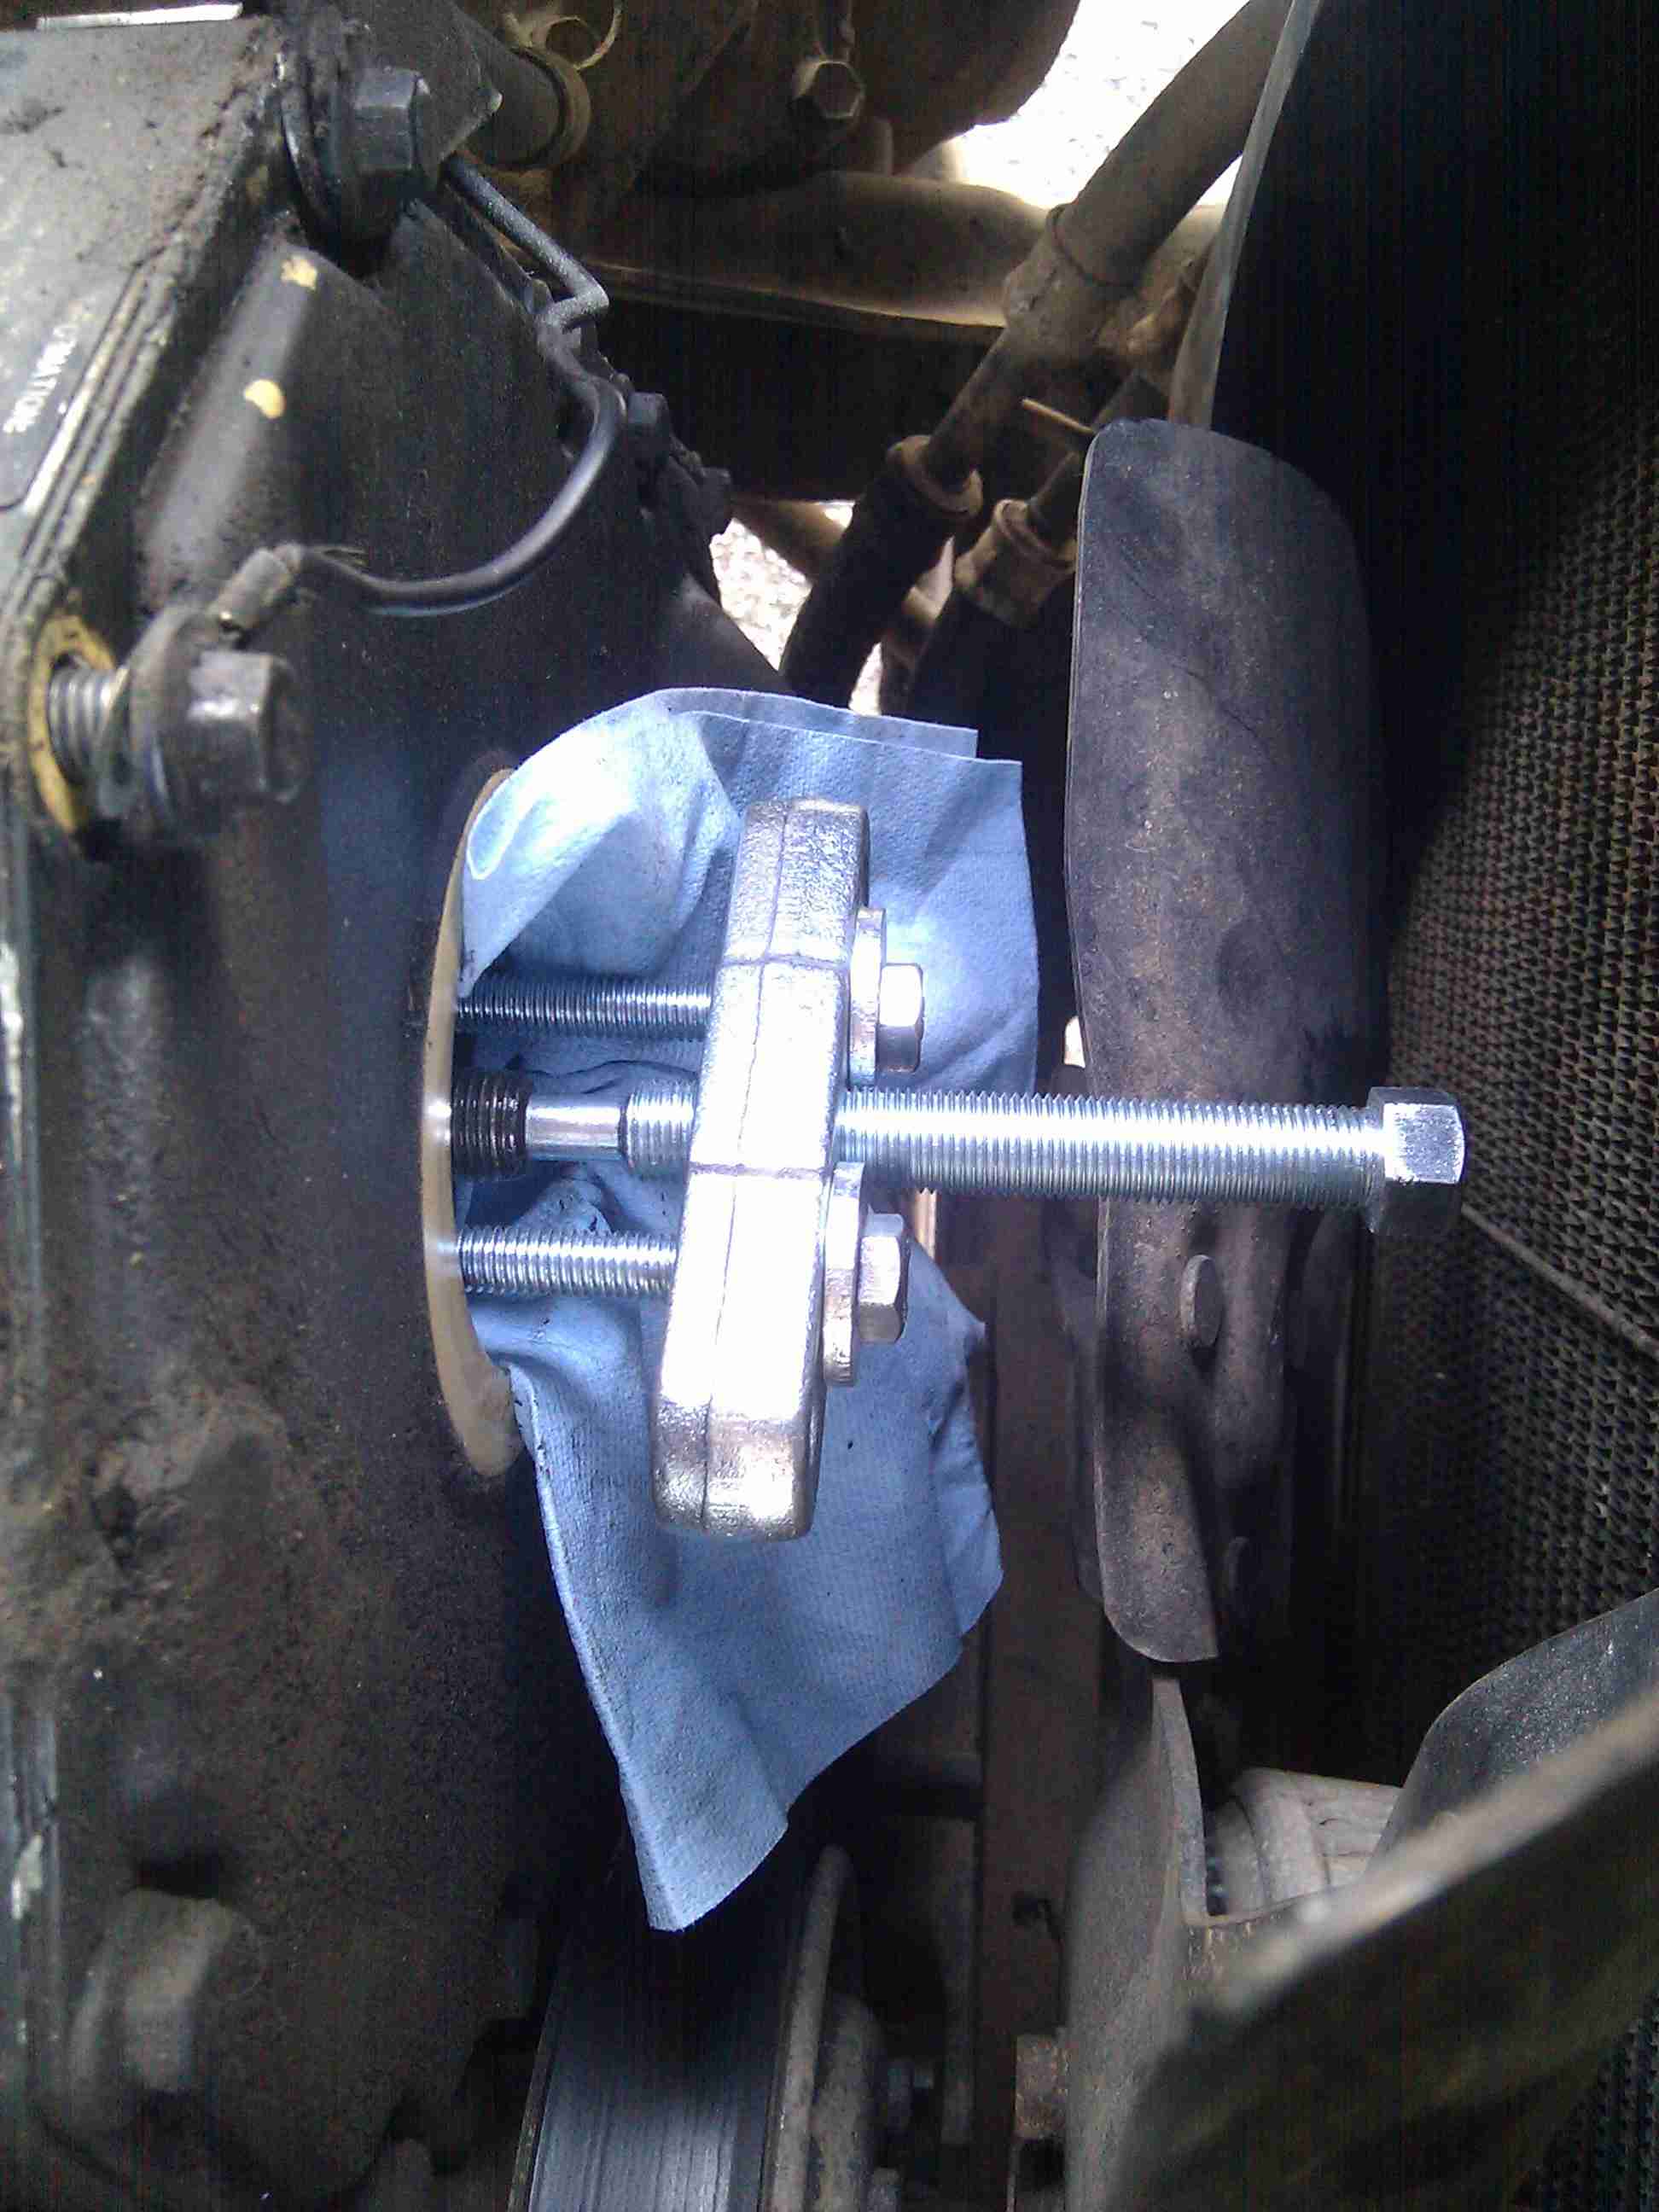
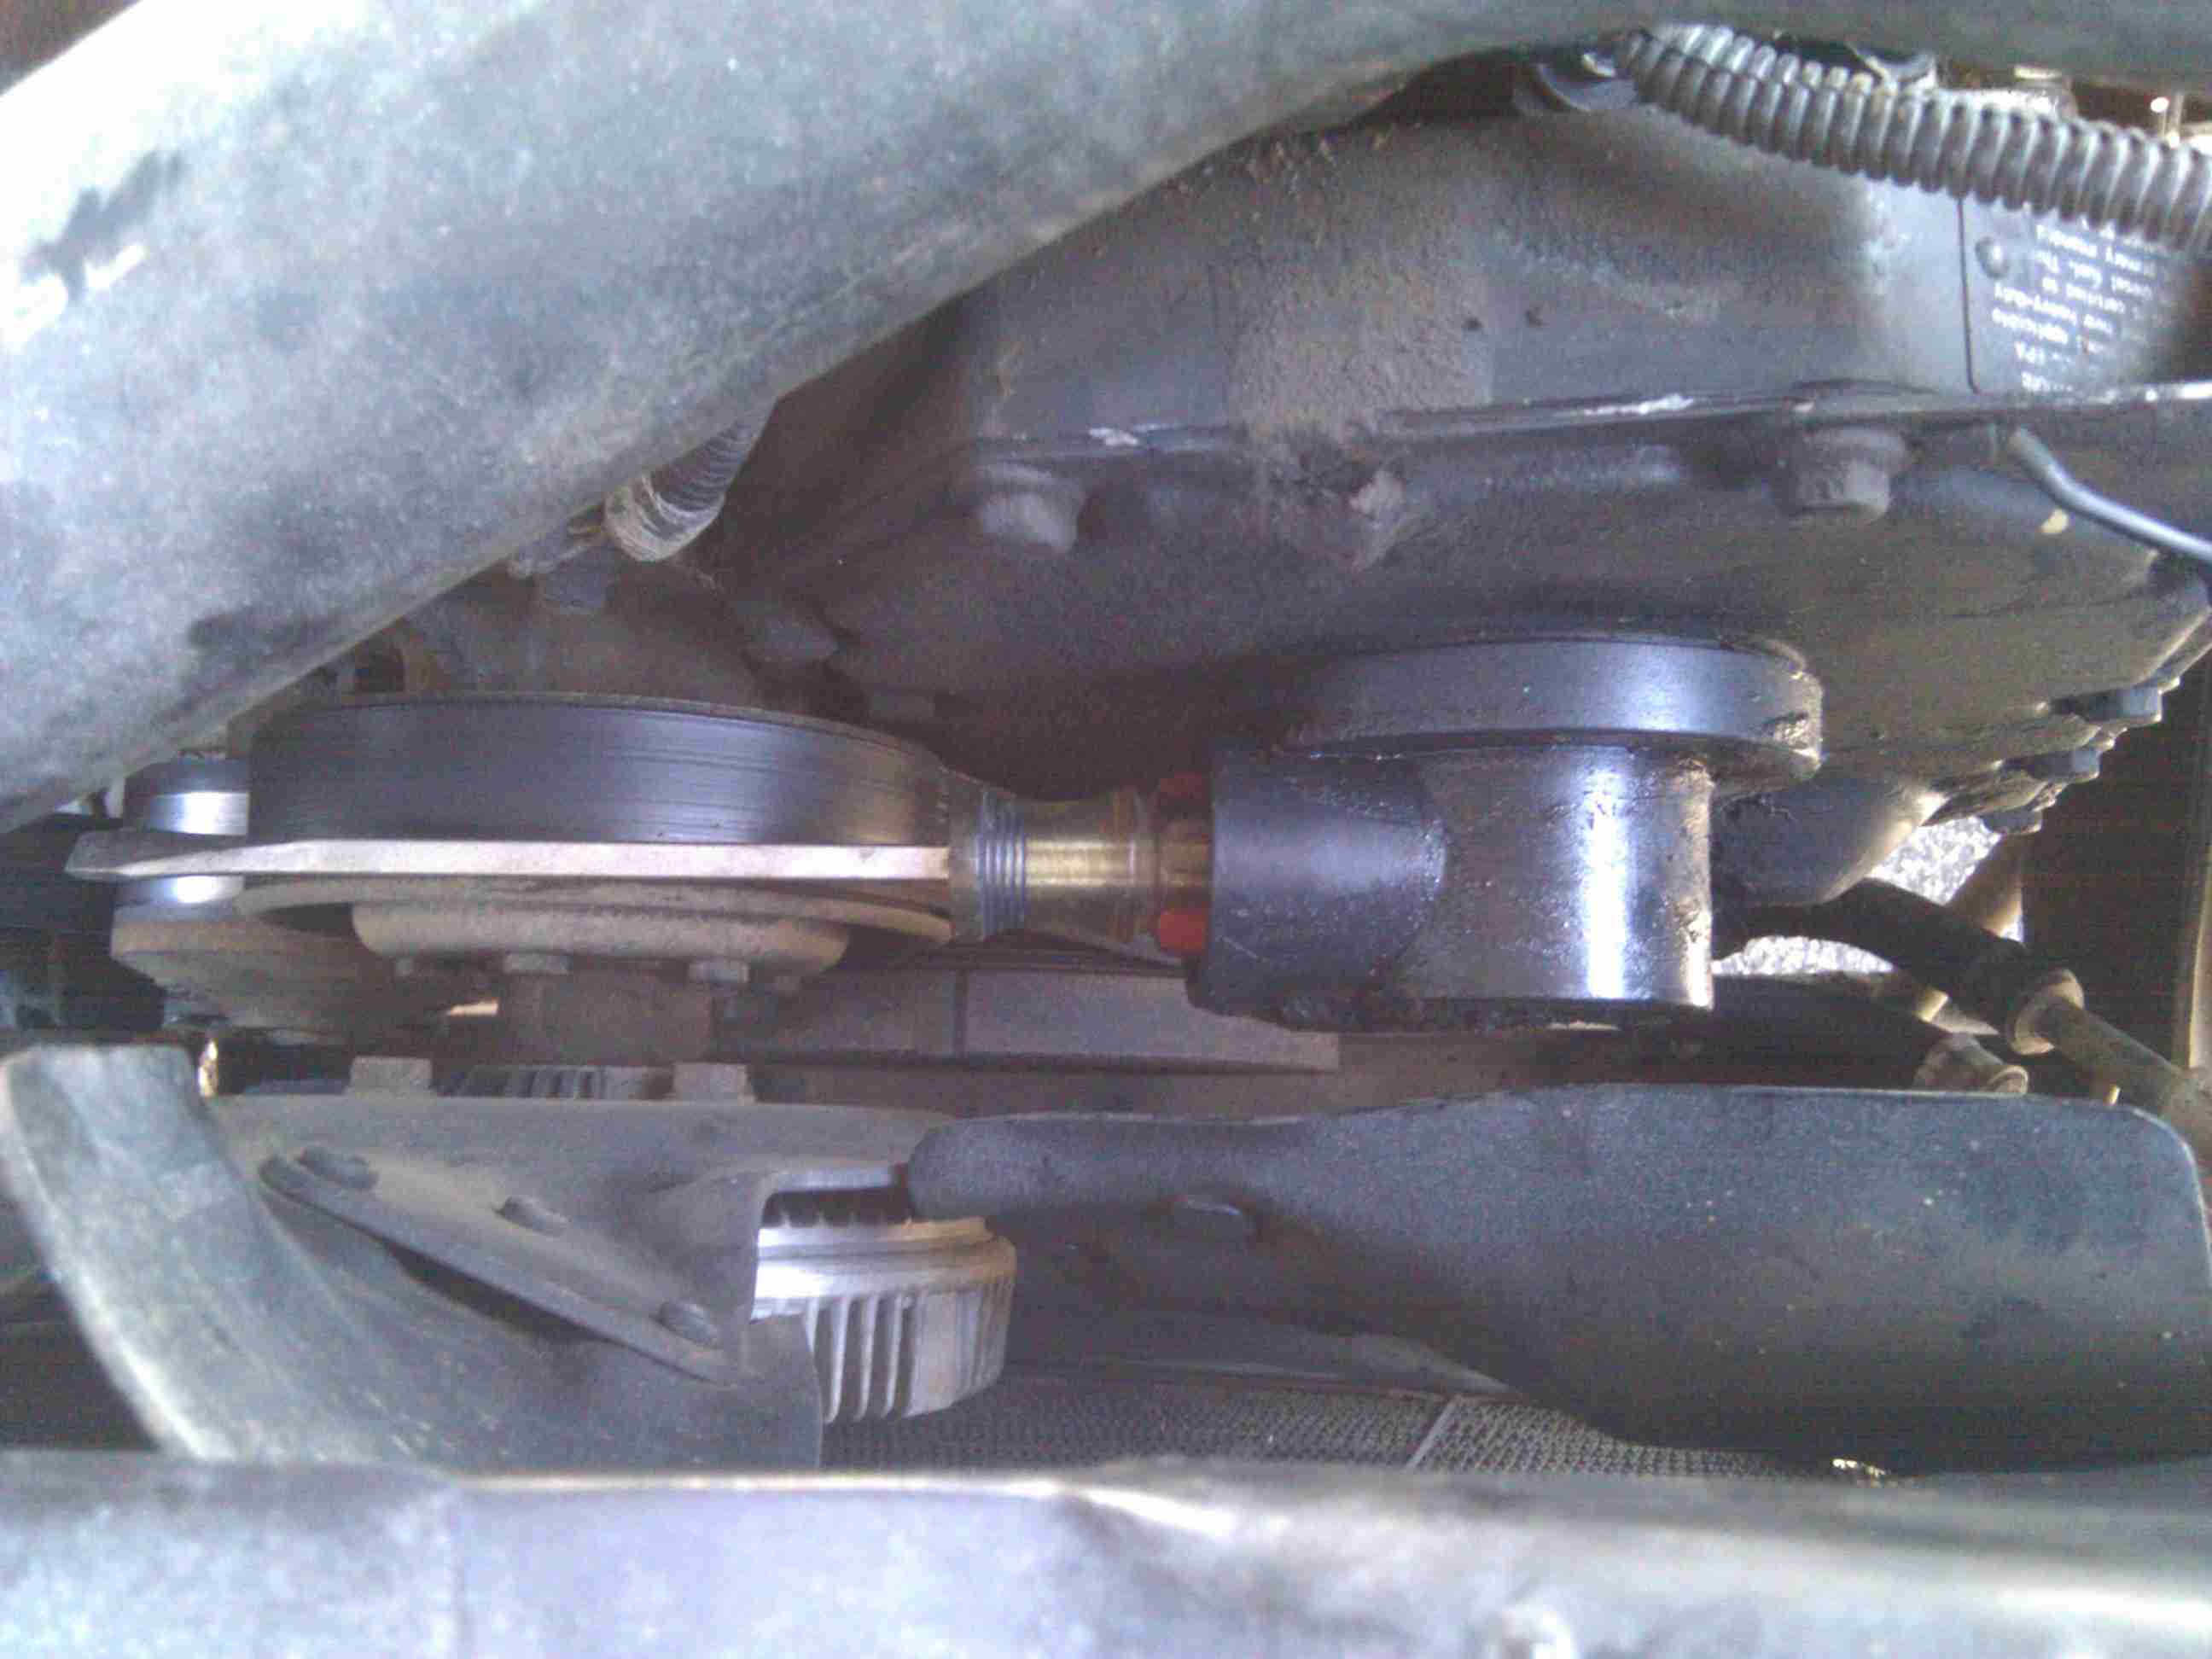
I used my steering wheel puller to remove the gear from the pump. The gear is only freed from the shaft but stays in the housing.
Here the fuel lines from the rear of the injection pump are layed down out of the way so the pump can be removed.
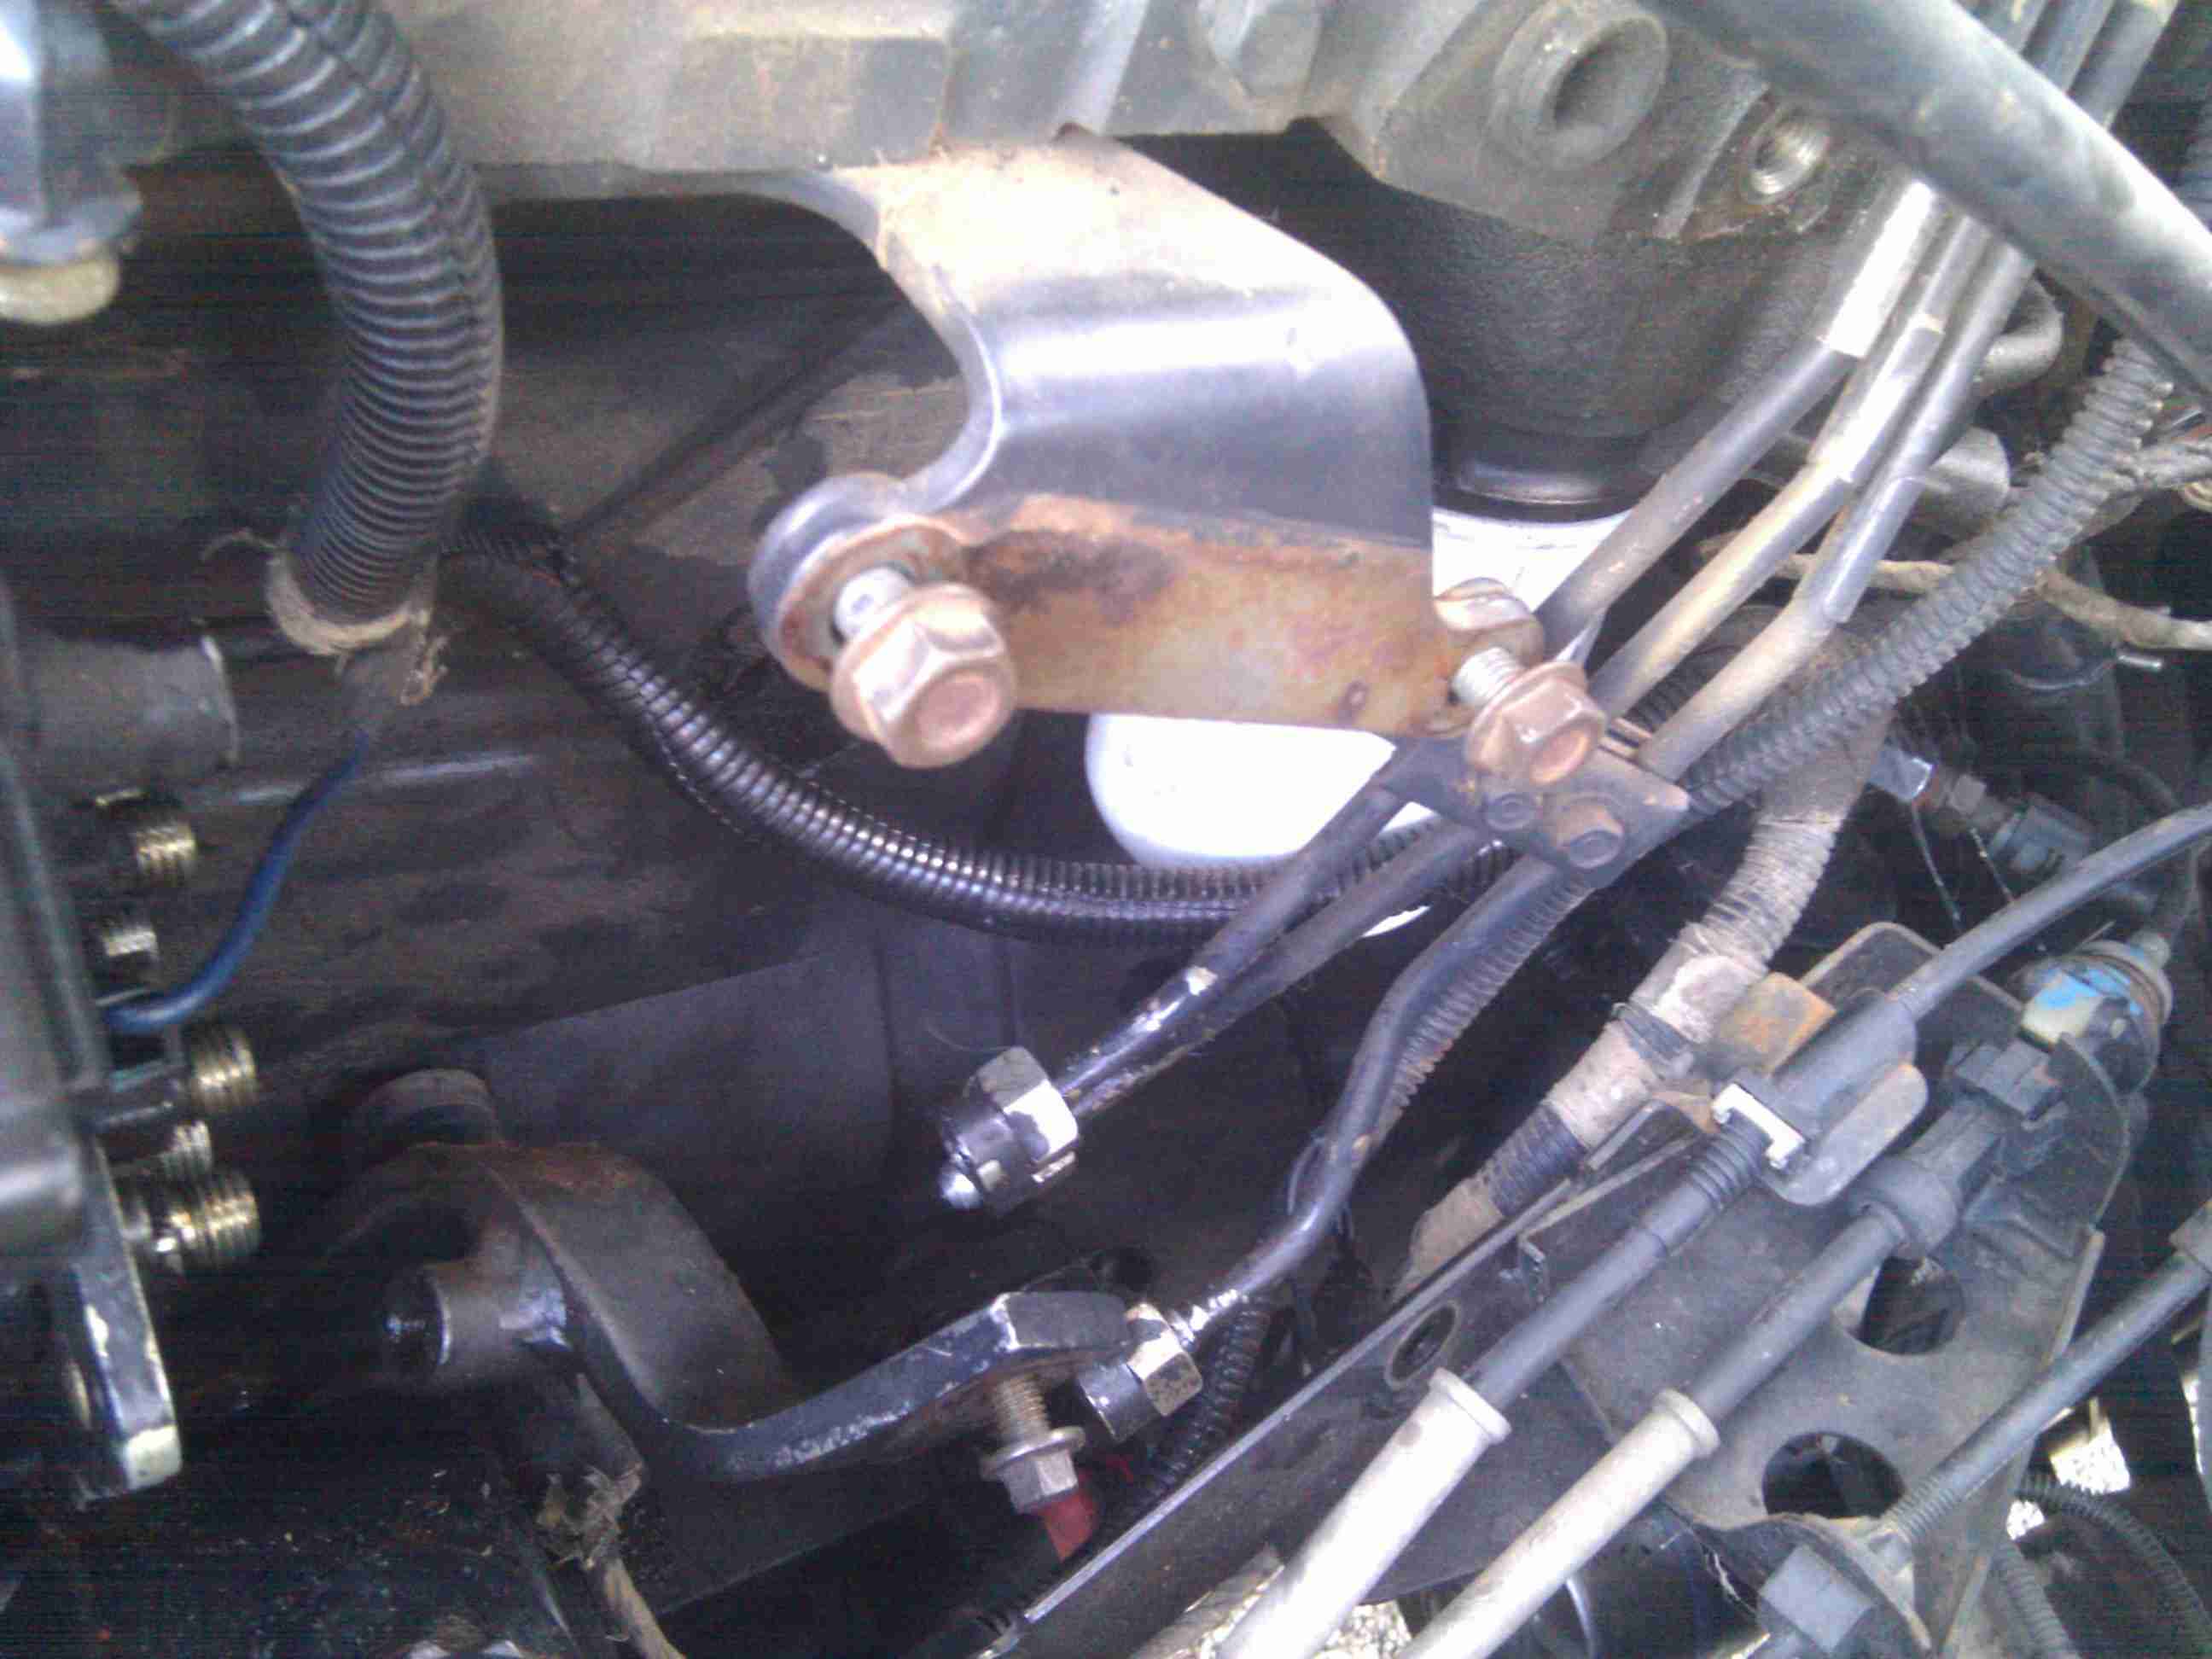
No matching mark on the pump flange. You can see the one on the housing.

I originally forgot to remove this fuel fitting as I was trying to pull the pump out.
Always take out the tab and re-tighten the shaft lock down screw. It keeps the shaft from rotating while working on the pump.
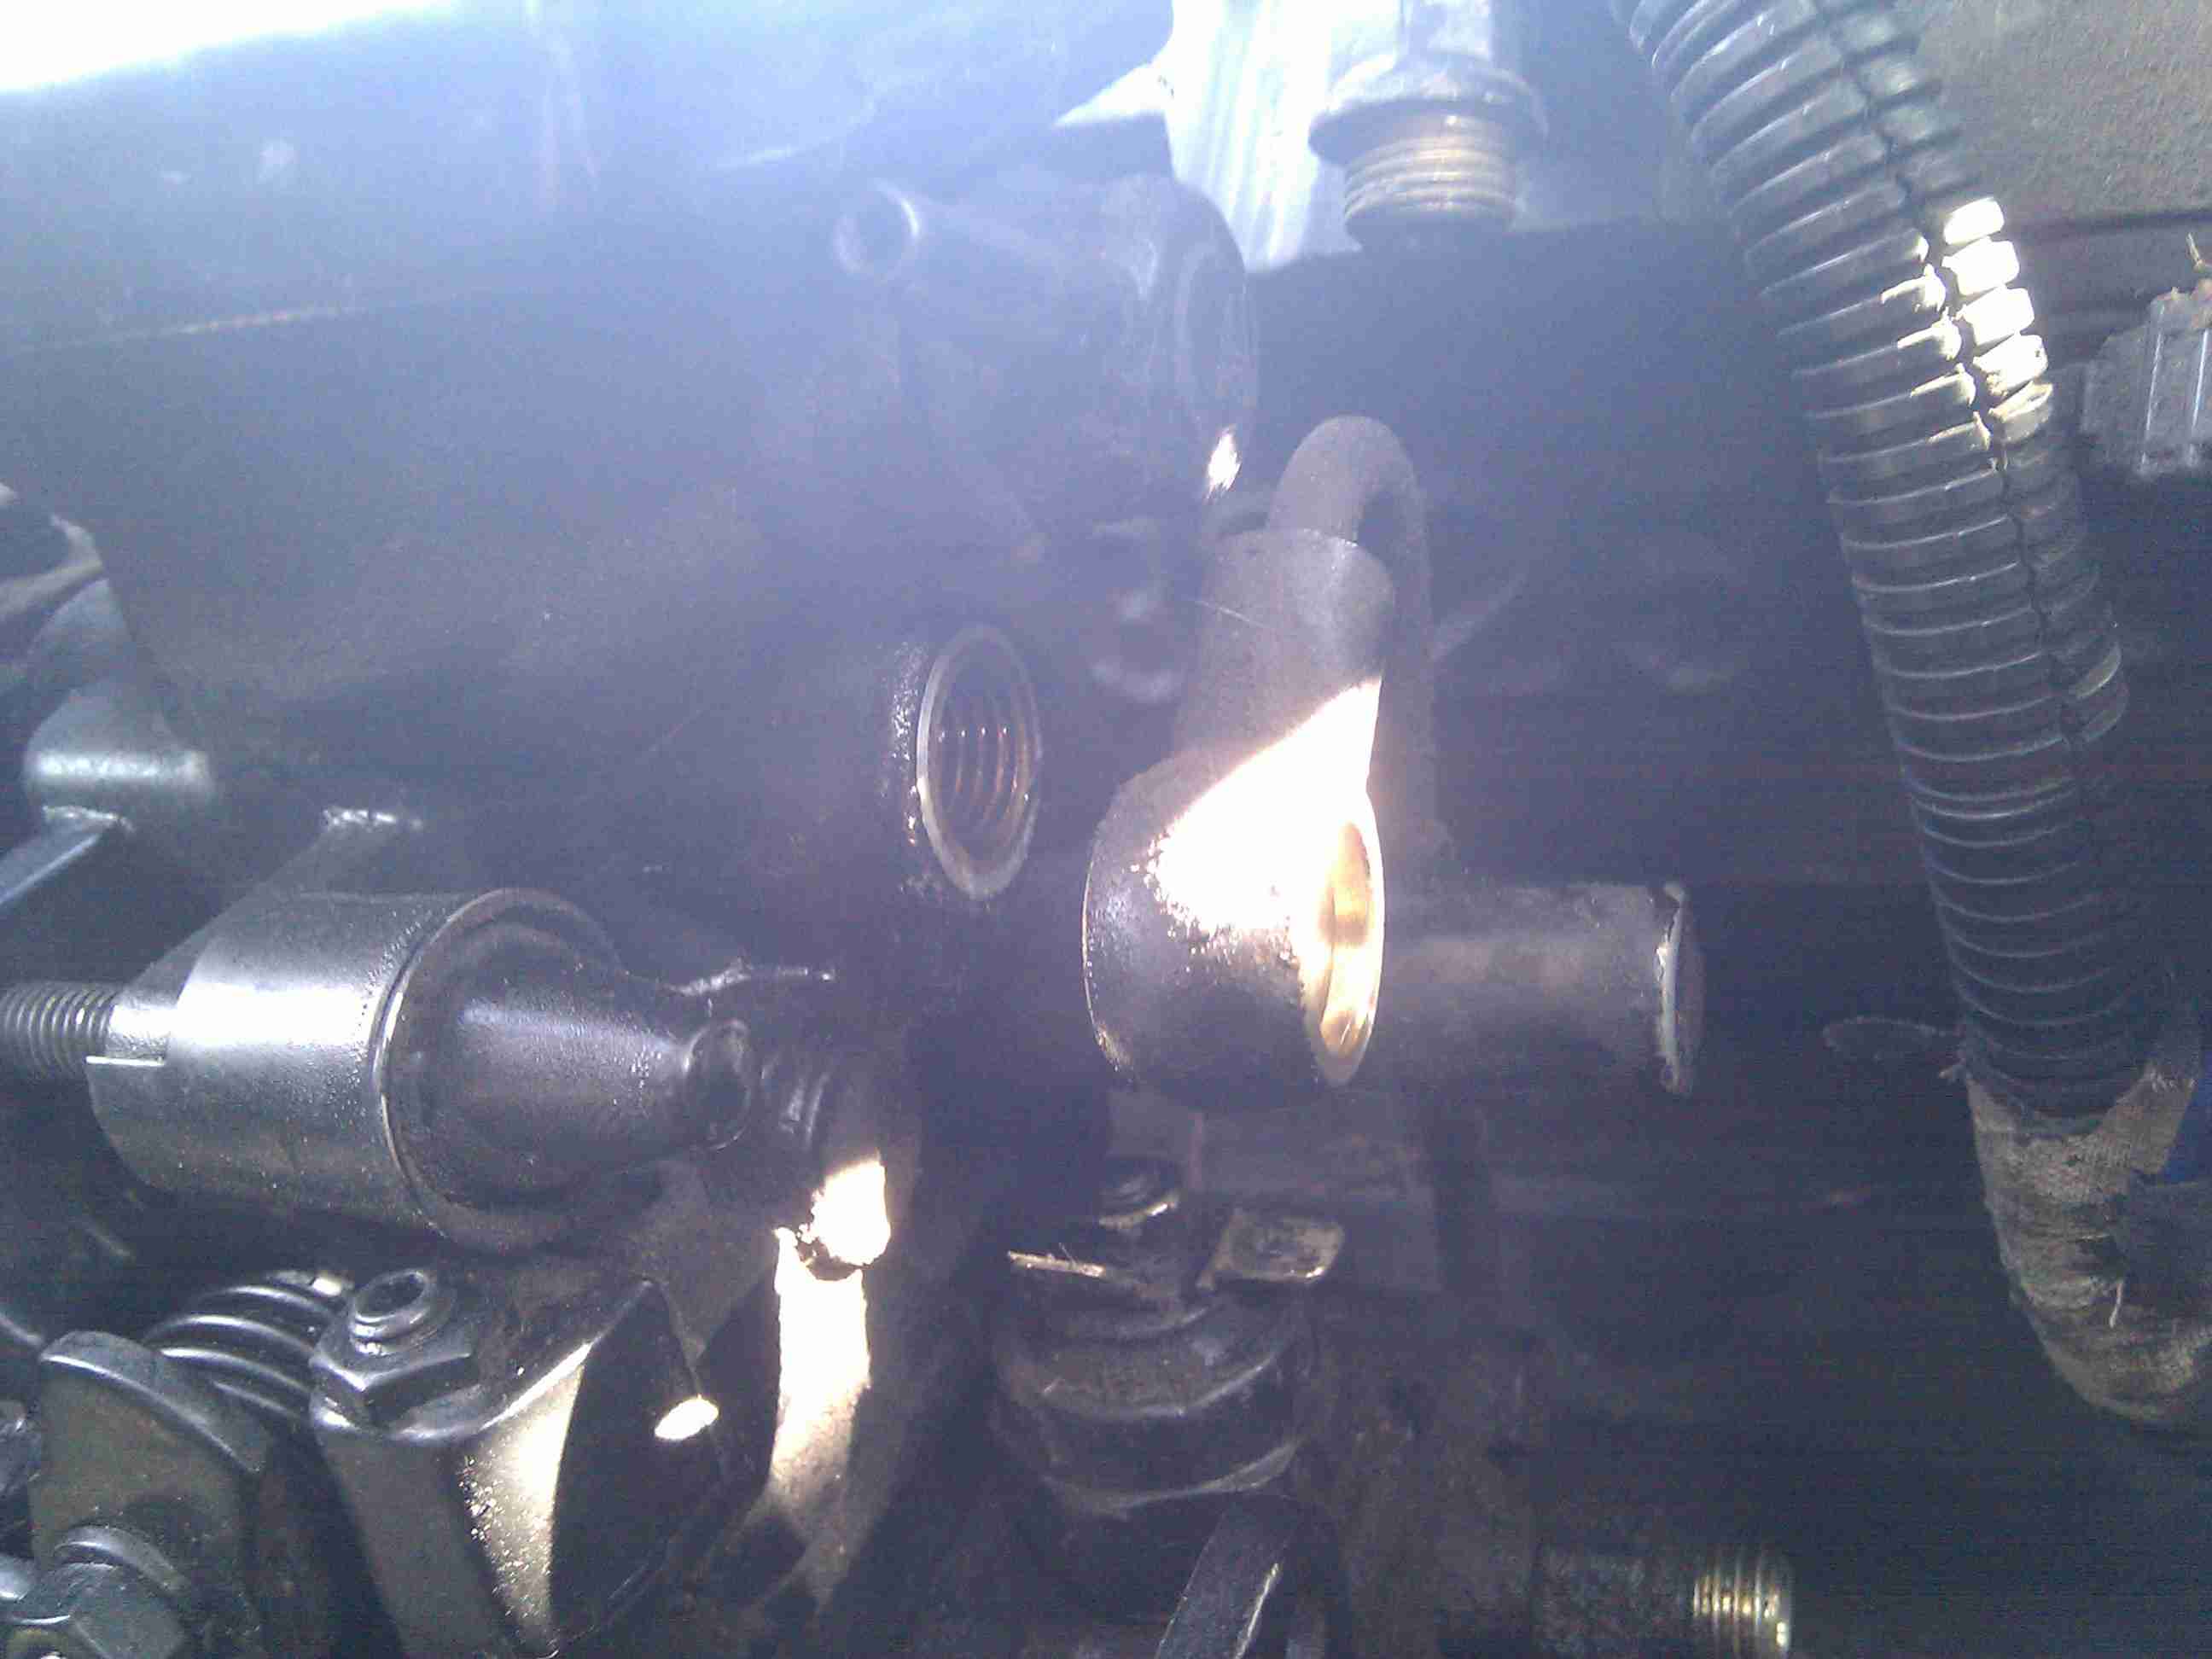
I marked the woodruff key location on the housing with 2 scratch marks. This has to be done if the engine is not at top dead center. The internals of the pump have to be aligned to this key during the resealing process.

Sun 2 Oct 2011
Posted by Administrator under
Bosch VE PumpNo Comments
Here are the 3 videos that are from Chrysler in the early 90’s, explaining how the remove and install the fuel injection pump. 1, 2, 3.
Today I wanted to get the injector pump out. I machined a 14mm deep socket to remove the fuel line fitting from the front/top of the injector pump. The socket was not stiff enough. It would just slip around the nut.
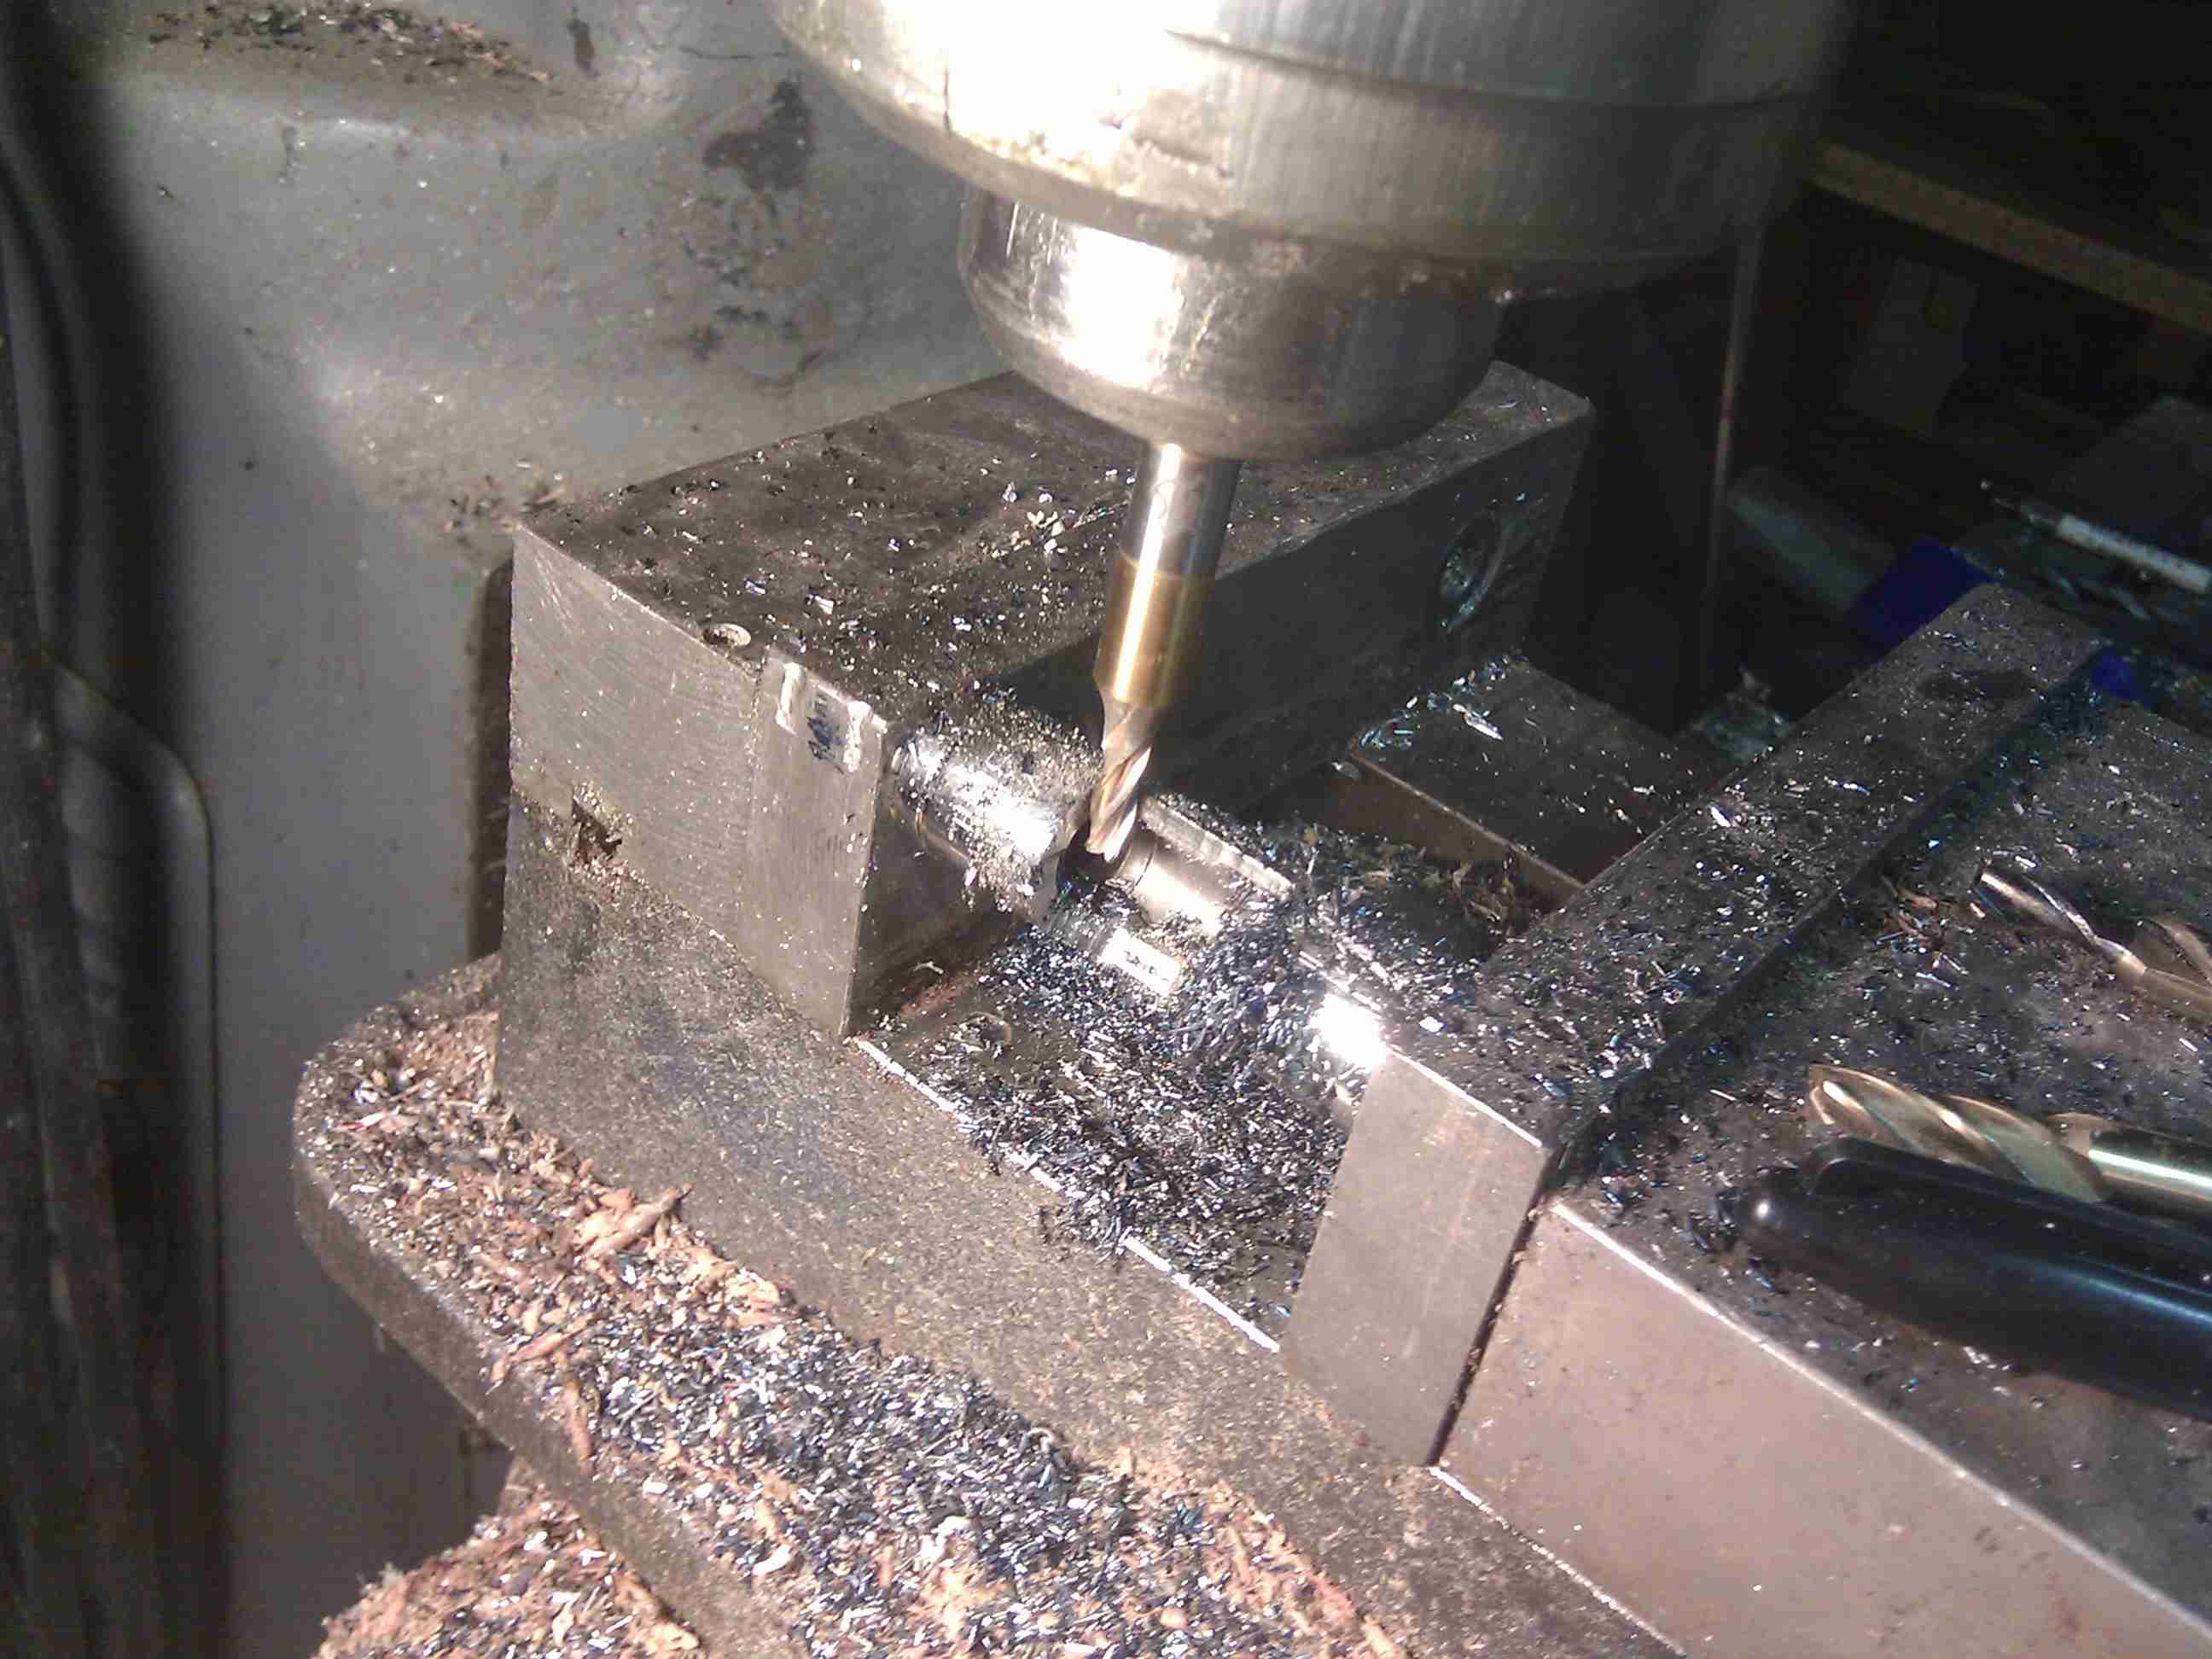
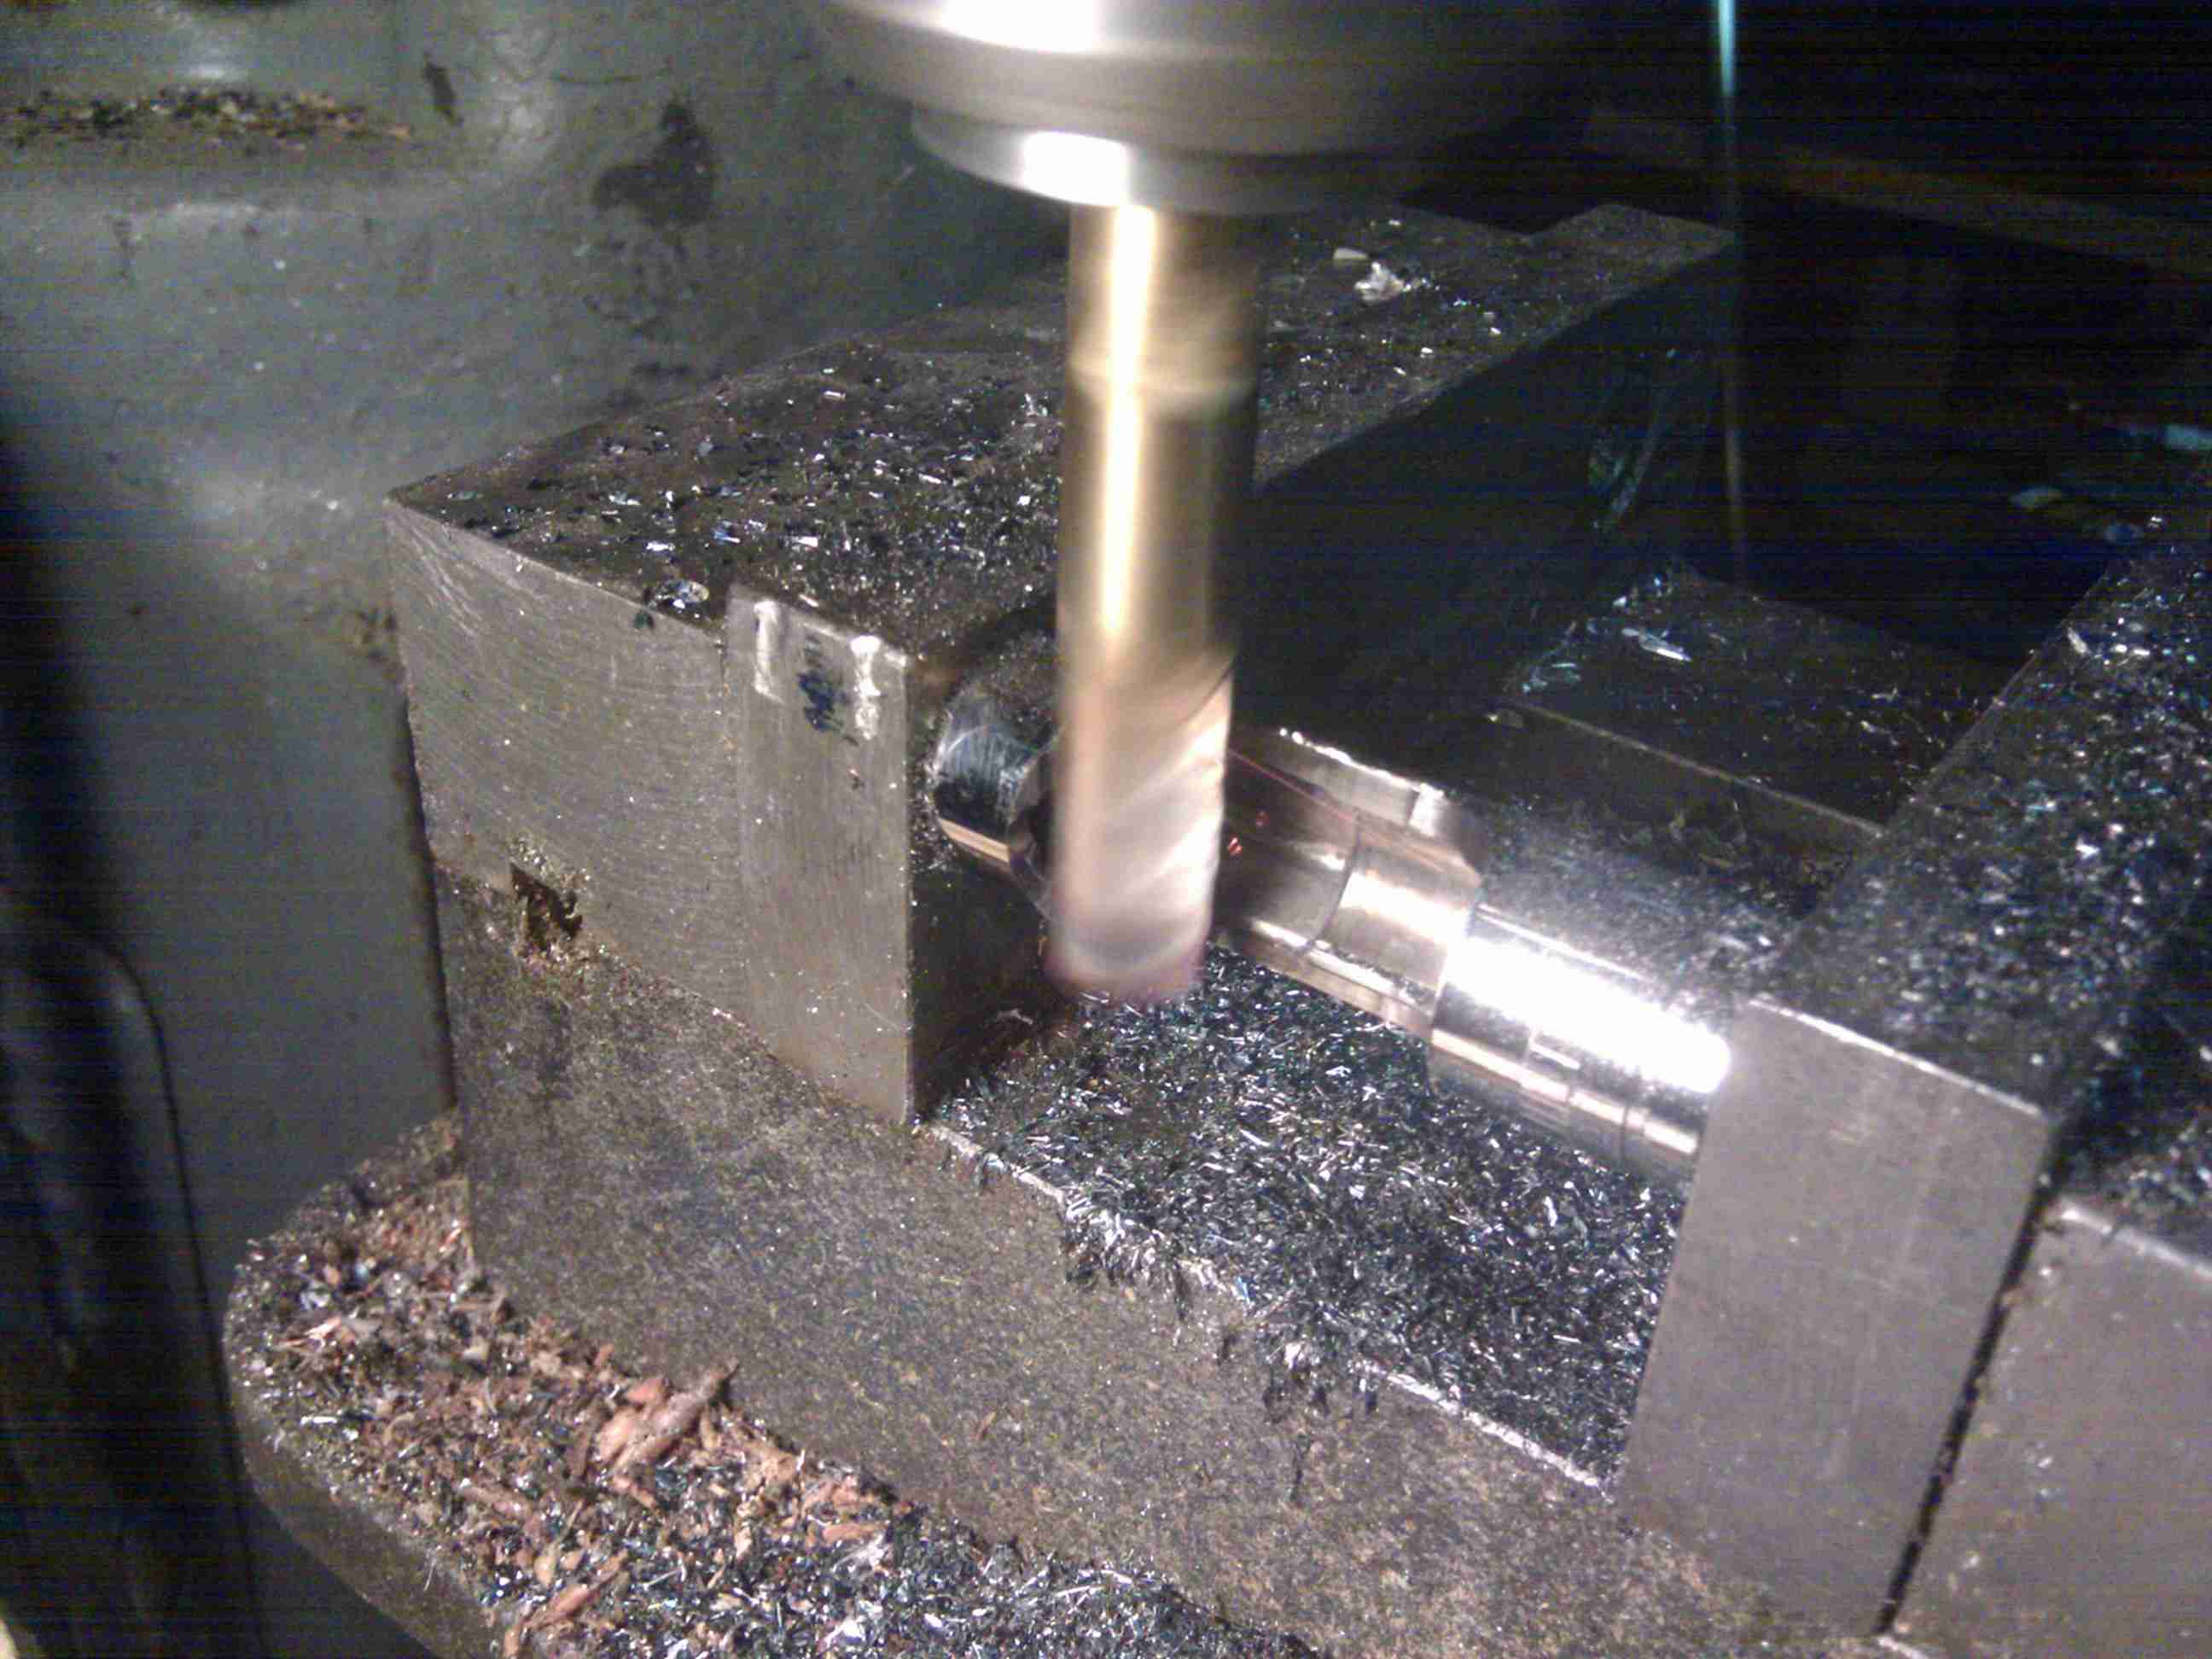
Here a 1/2″ end mill is putting the final cuts and radius on each end.
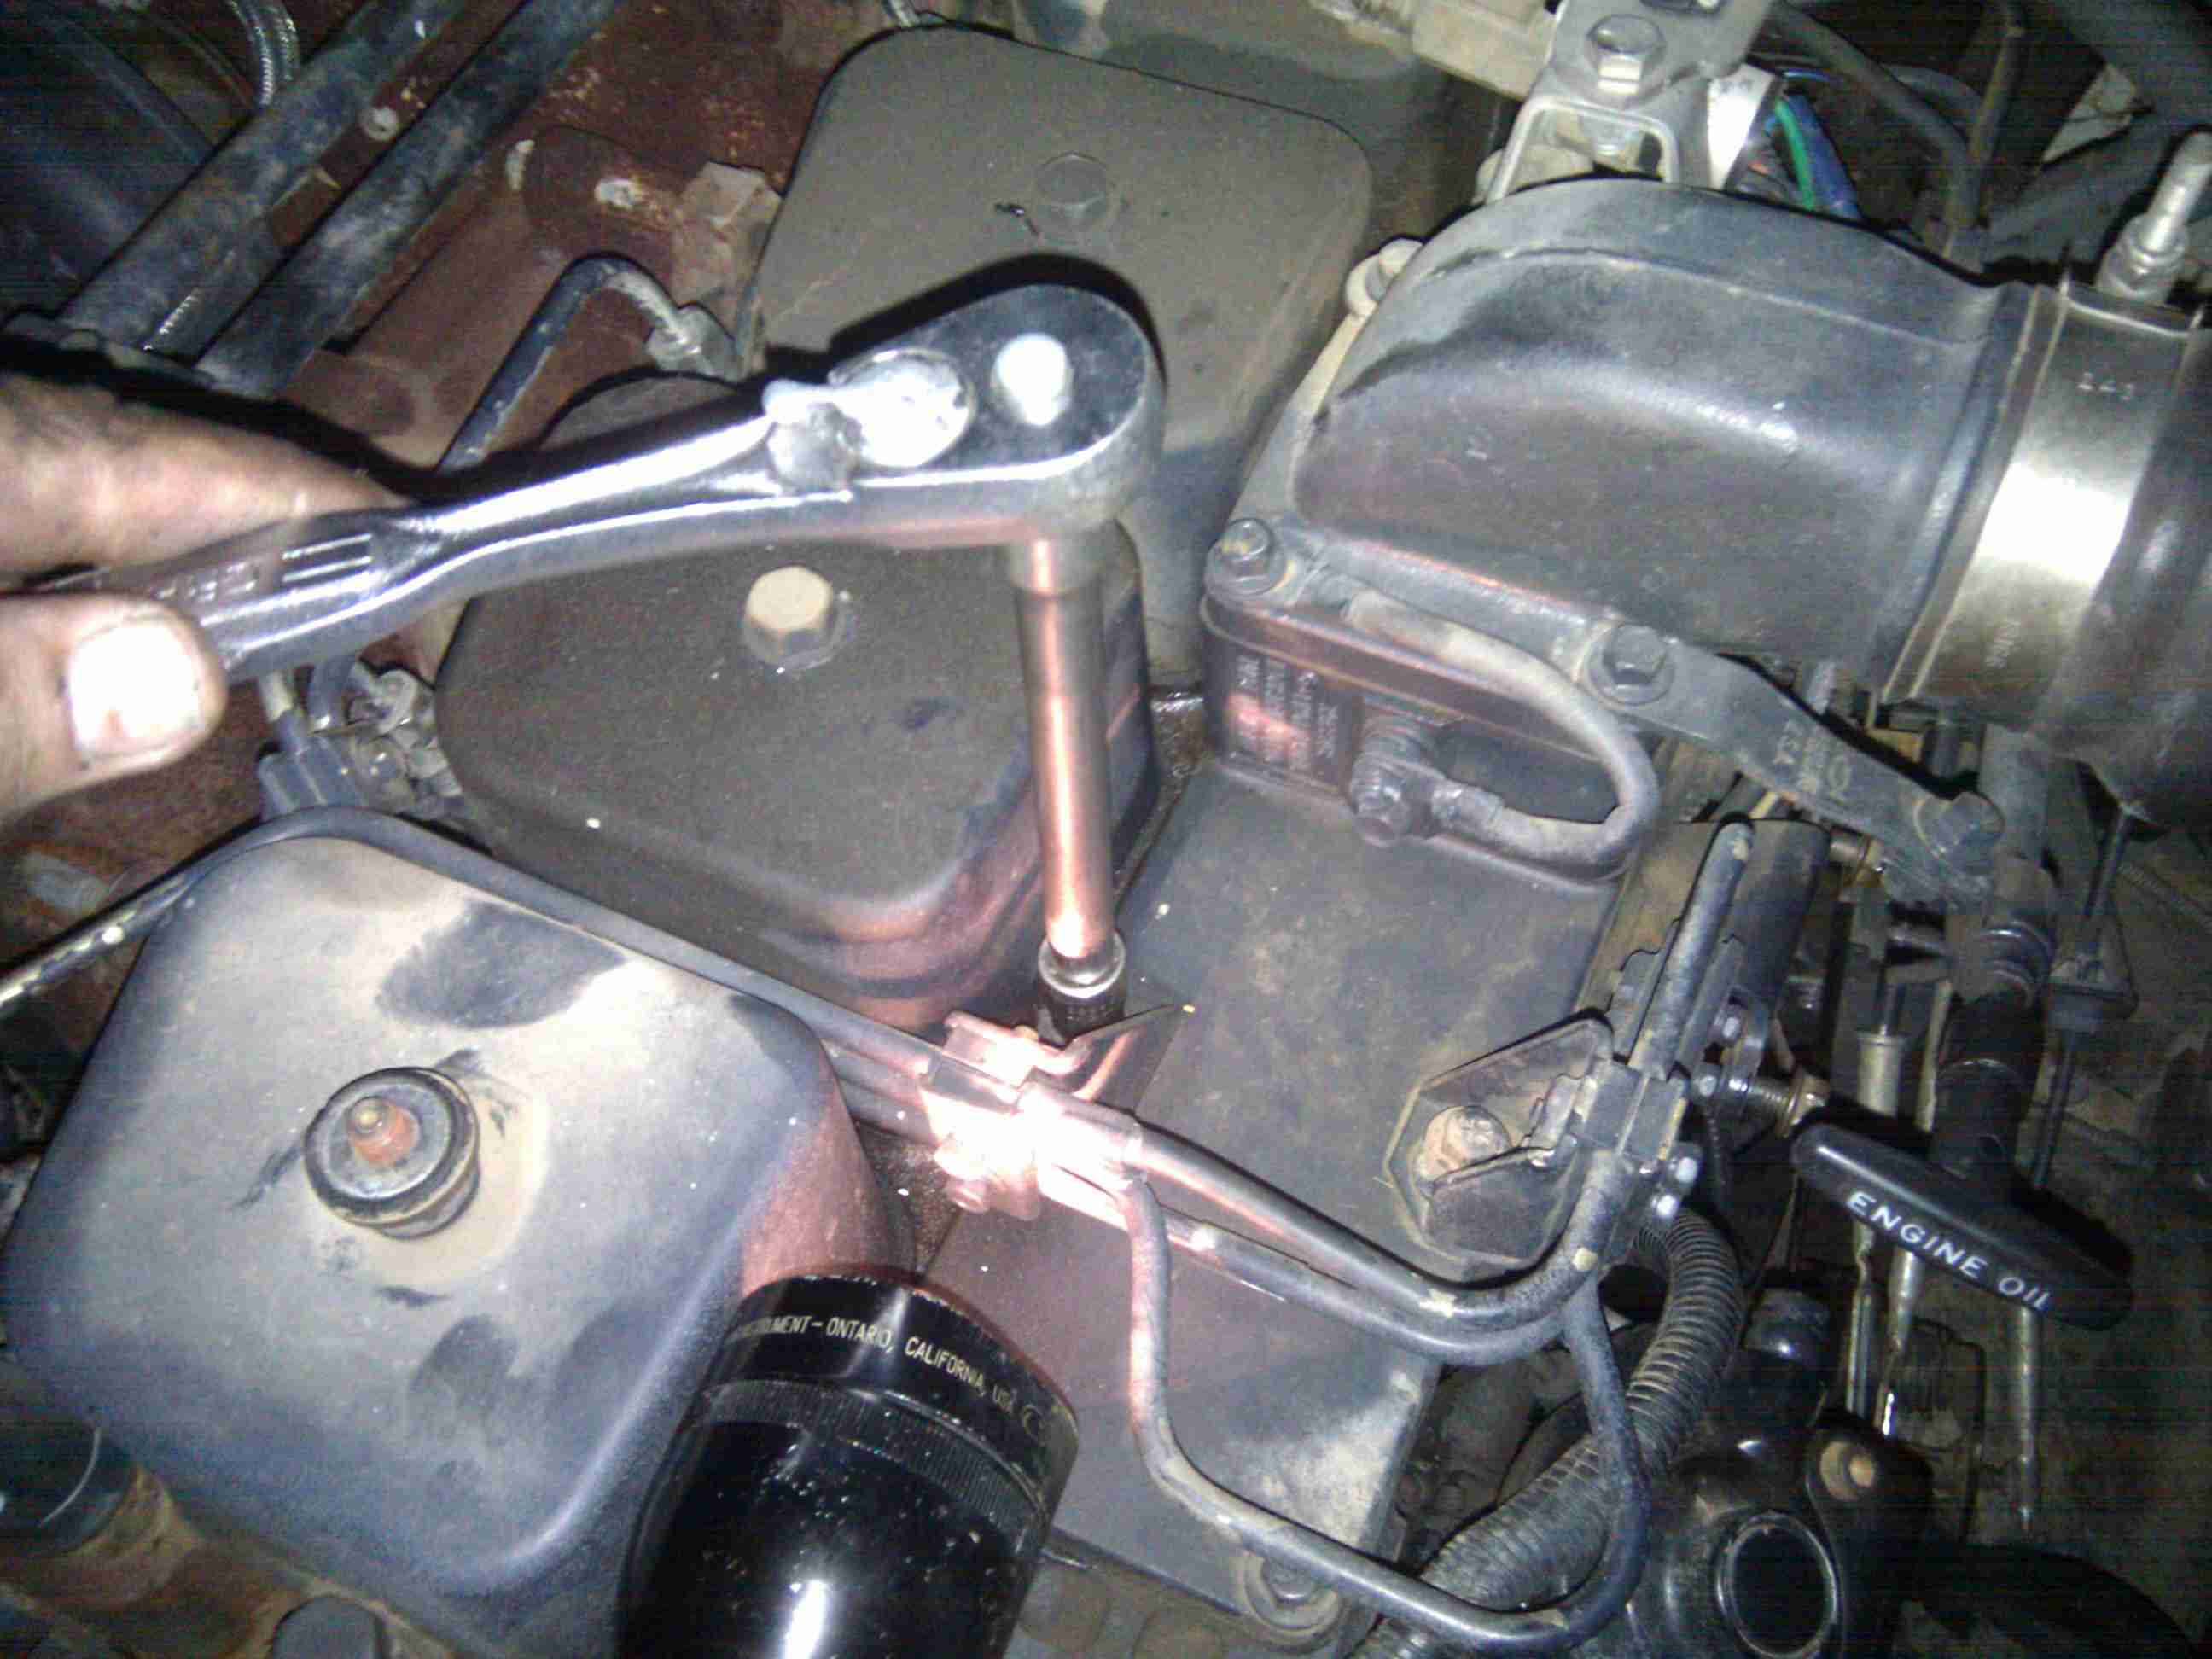
So I just started going for it. I soon found out that the crowfoot flare wrenches were mandatory. Had to spend $70 at Sears to get a set.

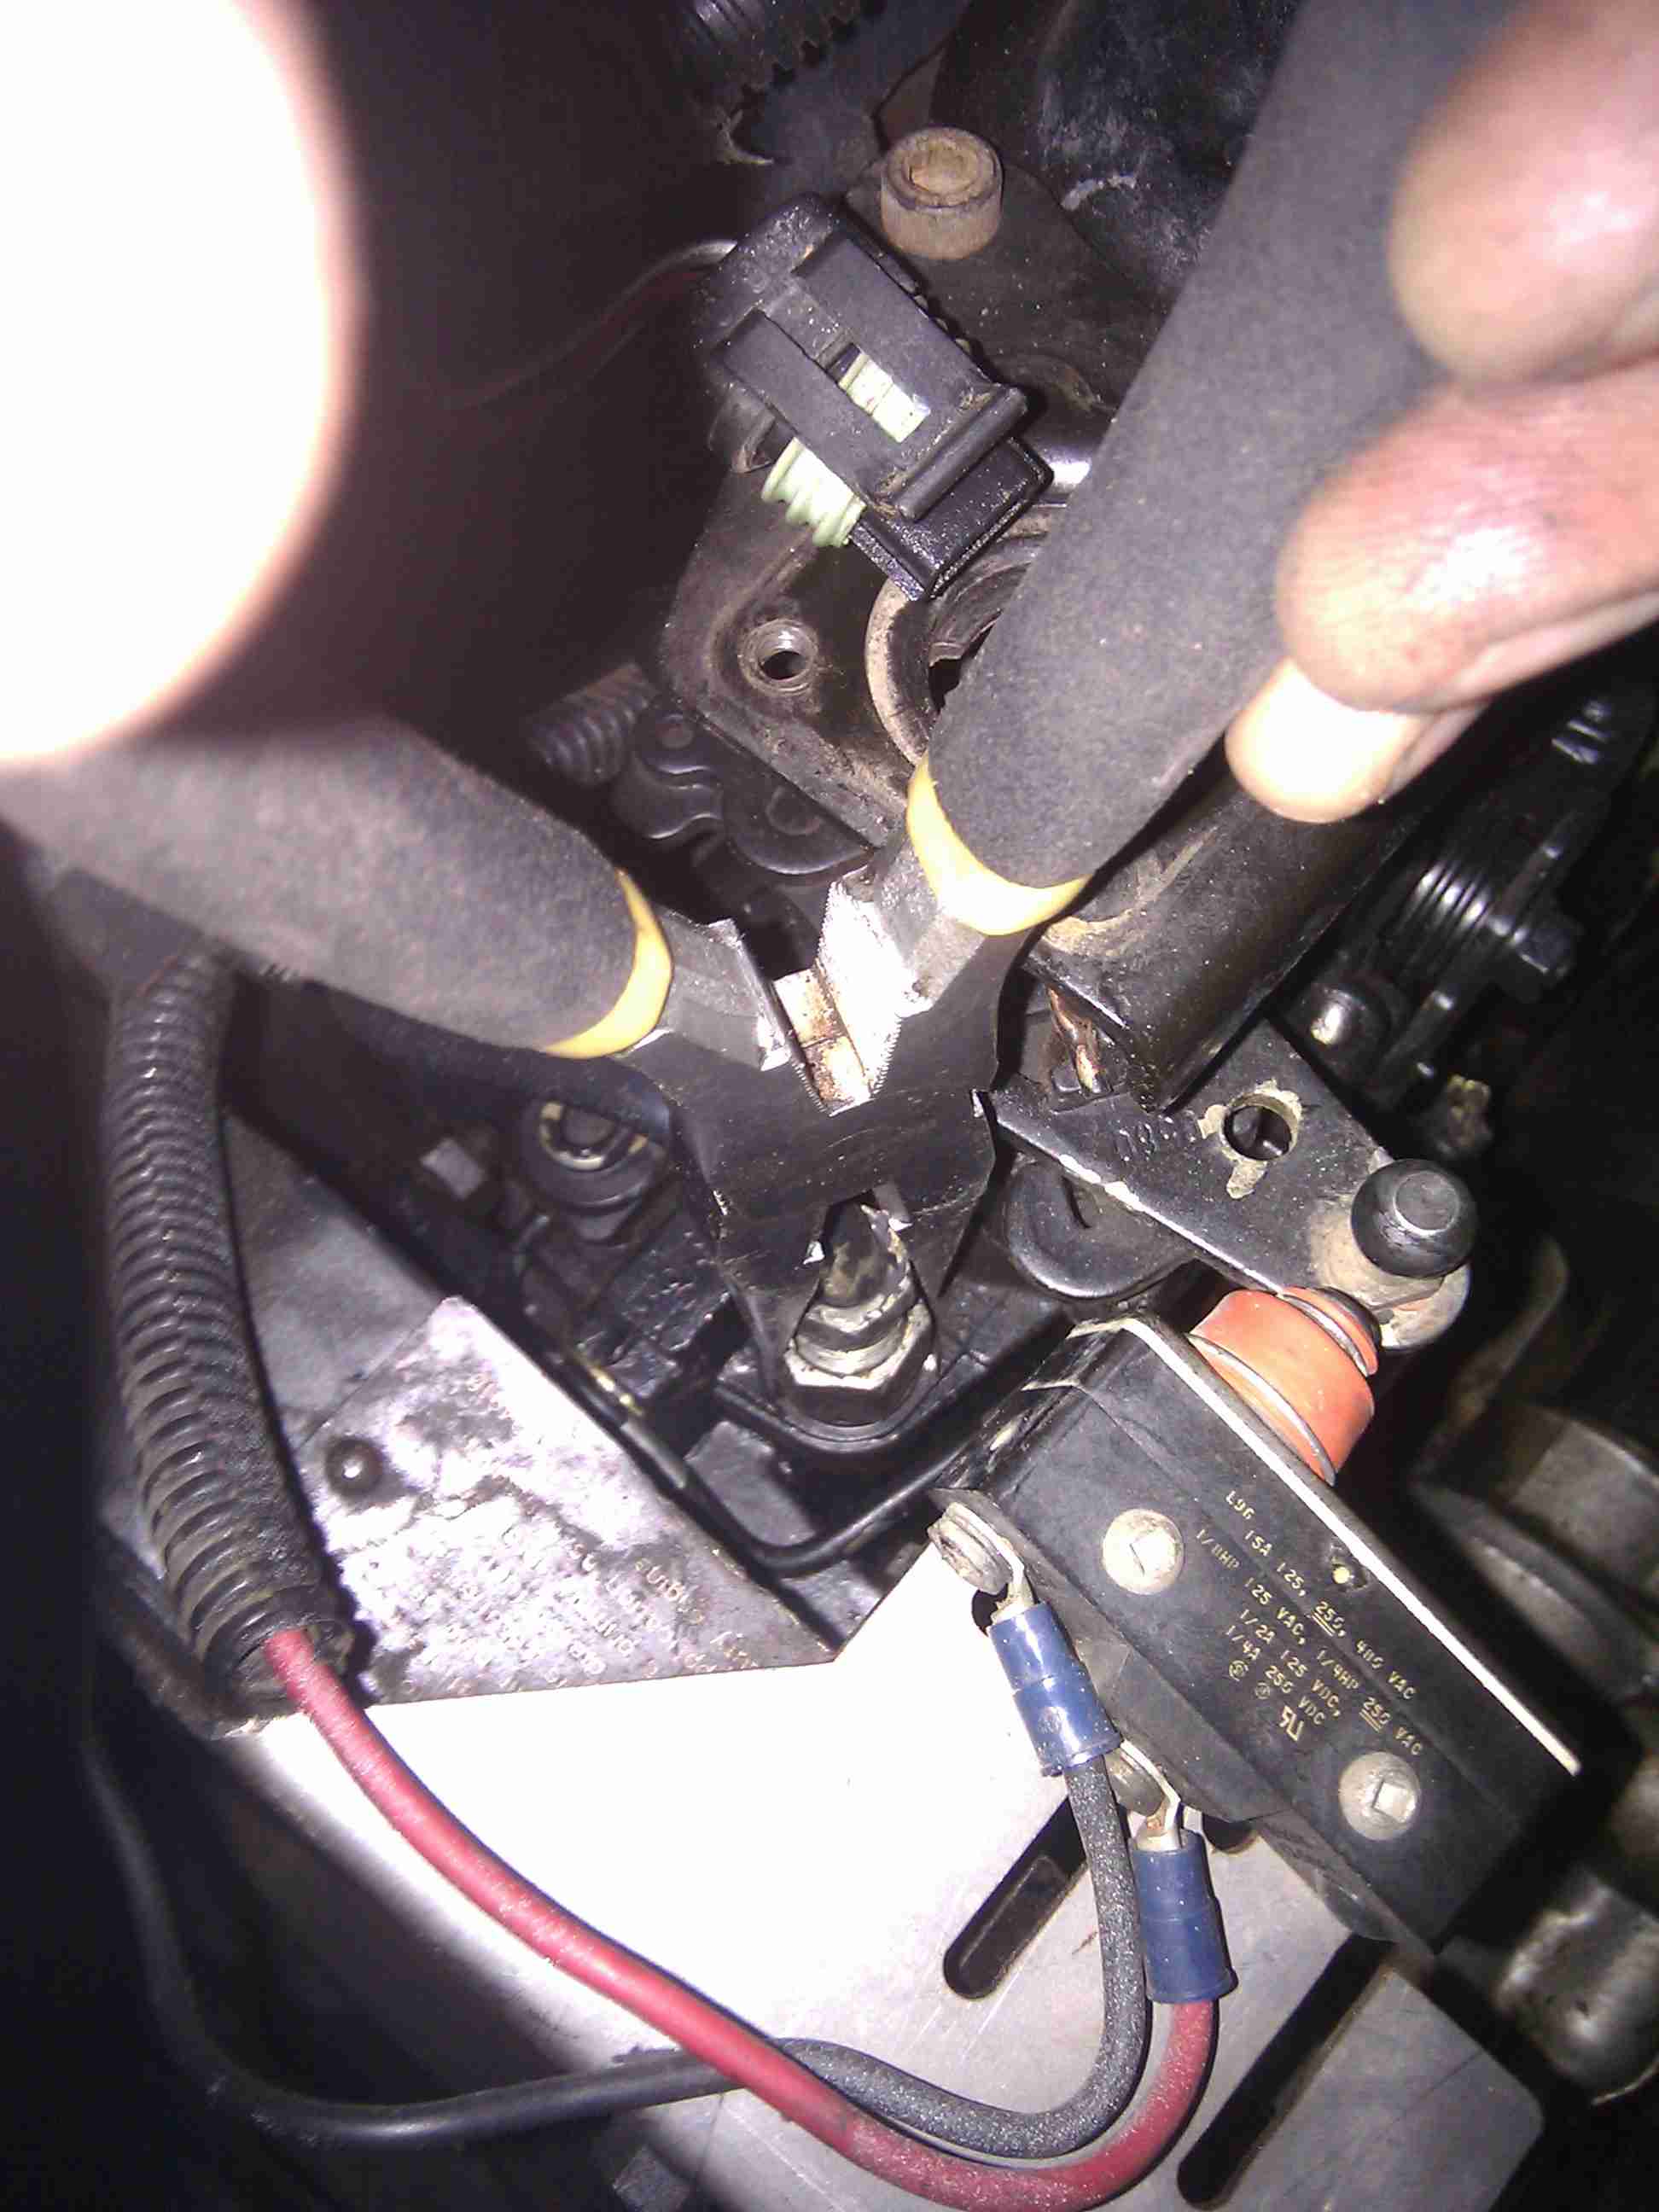
I had to use needle nose pliers to get the nut removed. Crowfoot wrenches are good for loosening fittings, but not spinning them out. The two wires and the microswitch are for activation of the BD exhaust brake. I still have to wire up the dash switch.
After taking out the top half of the oil filler tube, the lower half had to be unscrewed. It was tight. So the handle of a screw driver worked nicely as leverage to get it loose. It unscrews CCW.
Here the front 3 fuel line bracket bolts are being removed.
They have a reddish silicone sealer on them to help prevent vacuum leaks. So more will have to be added during reassembly.

« Previous Page