October 2011
Monthly Archive
Wed 5 Oct 2011
First remove the bracket above the throttle assembly.

Removing the throttle shaft nut with an allen and then the throttle arms.

It’s hard to tell but there are 2 washers around the throttle shaft. The large rust colored one and the smaller on in the center with specs of white on it.

When you remove the washers this is what you see. The throttle shaft indexing. I made a mark on the shaft opposite the index mark that is all by itself. Click on this pic to see the larger image.

Here is the throttle shaft return spring right under the throttle arms.

Here the spring sits with the arms removed.

Here is a better shot of the spring and it’s upper and lower seats removed from the throttle shaft.

The throttle shaft is at the top of the pic. Pull it out.

The throttle shaft pushes right up and out of the upper half of the pump. I can’t seem to find the right oring for it so I grabbed one from my air conditioning assortment. I will use a Bosch oring instead. I just have to wait a day for the parts.

I ordered a new throttle shaft oring and removed my A/C oring by pinching it. It sticks up far enough to be grabbed and removed without any chance of scratching the shaft. Do this technique whenever possible. Make sure the thrust washer is still on the shaft when the final oring is installed.

Using tape to cover the threads and especially the index splines, keeps from gouging the oring during install. Use STP on the oring during install!!!! Insert the shaft back into it’s bore. Don’t add the throttle arms until the Final Assembly.

Wed 5 Oct 2011
Posted by Administrator under
Bosch VE Pump ,
KSB ValveNo Comments
This side was very easy to change out the quad seal.

The other side was ok too. Here it is apart.

Sorry for the blurry pic. I tried to show the scratches left by the last gorilla to rebuild this pump.

The quad seal goes in nicely. Due to spring pressure make sure to evenly lower the cover with the screws.

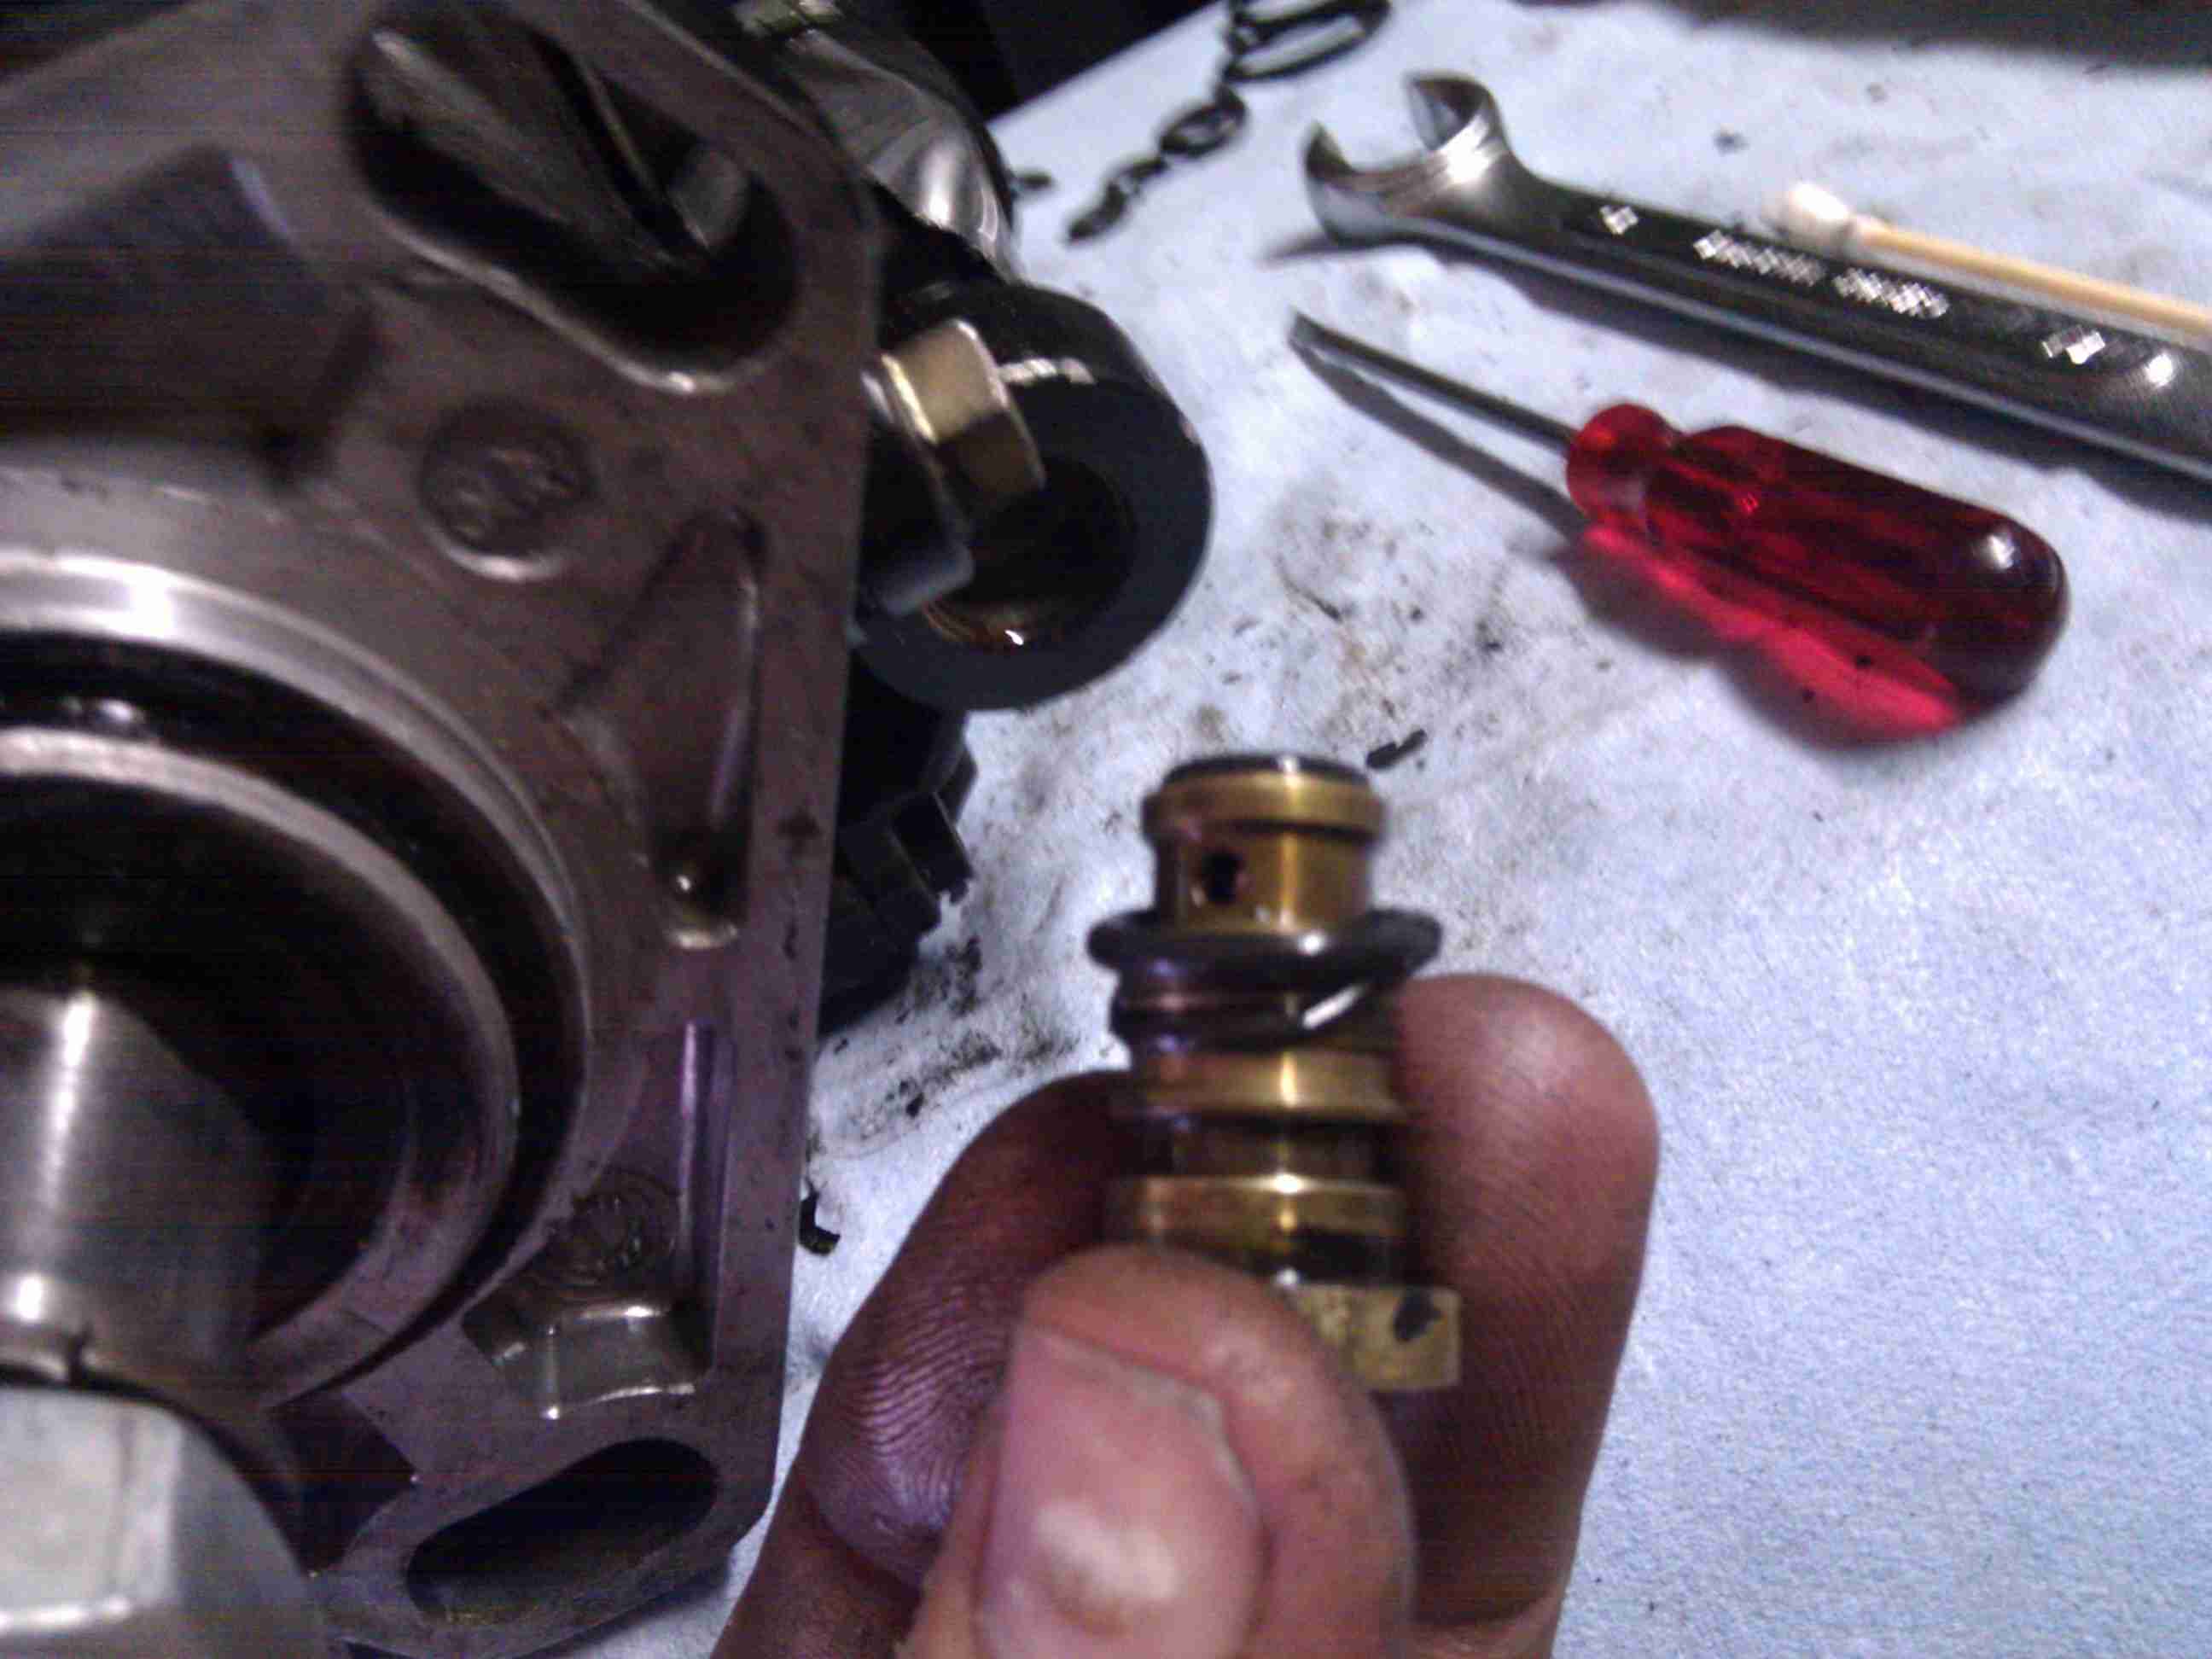
This is the second worn oring I’ve found so far. See the cracks along the edge. The first was the governor shaft oring that caused the fuel leakage. This brass plug screws into the KSB valve. The 3 orings for the inside of the KSB valve do not come in the kit according my local pump shop. So I ordered them. The quad seals between the KSB valve and the pump do come in the kit.

Cover the threads with tape to protect the oring from getting abraded. Use STP to lube the oring before install onto the brass plug.

The orings were replaced. That large oring was brittle. Both the brass plug and the solenoid were installed with new orings back into the KSB housing.

I felt the brass plug give suddenly as I was screwing it in. I took it back out to find that the oring had been split. I had used mineral oil for a lube. After that multiple sources told me to use STP Oil Treatment. That stuff turns out to be far more slippery than mineral oil. The solenoid was simply removed and given a new oring, lubed with STP, and re-installed. Sorry I didn’t get a pic of that.
Wed 5 Oct 2011
Posted by Administrator under
Bosch VE Pump ,
SolenoidNo Comments
Using an earplug to keep dirt out of the empty bore.

Marking the solenoid to make sure I don’t over tighten it when it goes back in. The mark I made lines up with the parting line of the casting.

It took a 15/16″ wrench to take it out. I didn’t have any metric wrenches this large. It fit perfectly.

I know these head bolts are tight, but c’mon!! The end of the torx bit snapped off flush with the head.

Do I need to even comment on the tool quality here !!!!!! A magnet pulled out the broken torx tip. The shorter bit got the bolts loose just fine!!

« Previous Page — Next Page »